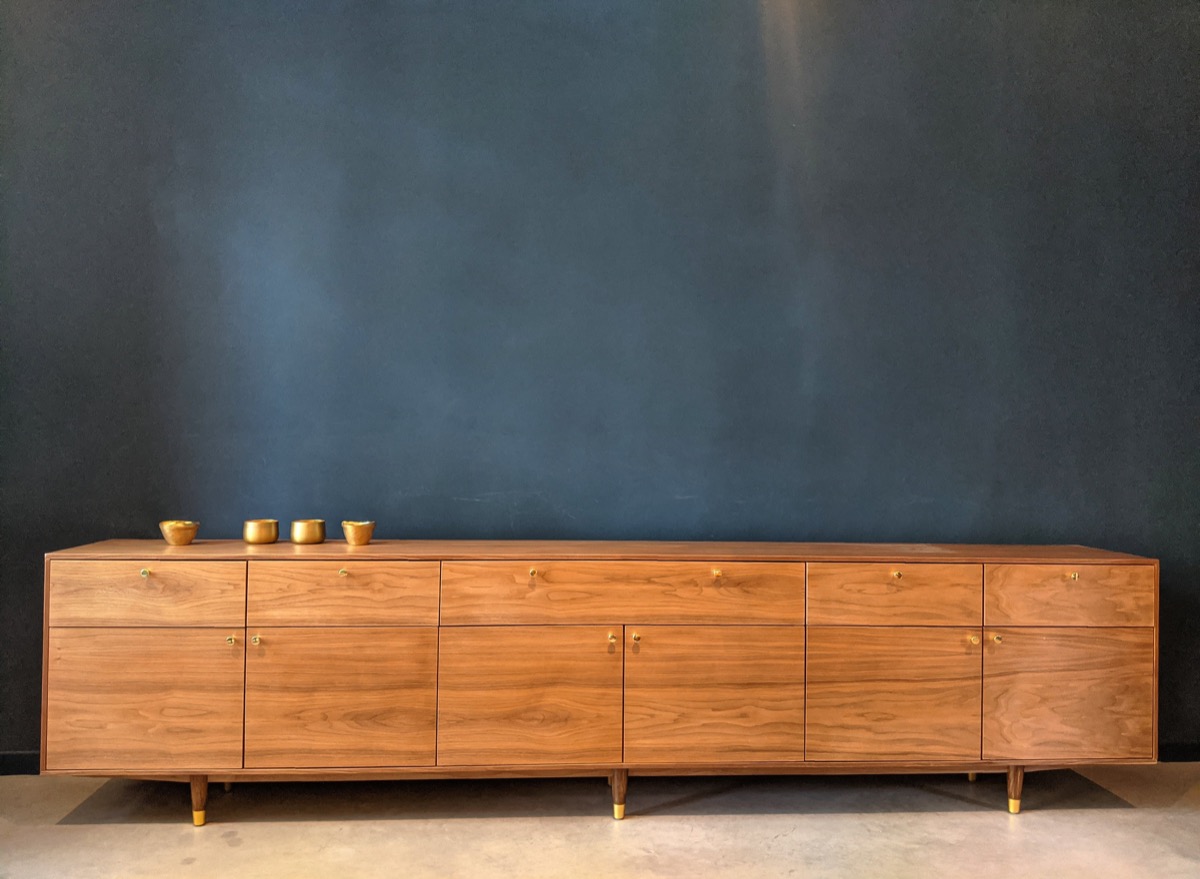
Walnut credenza
The piece that ties the living room together.
Design permalink
I designed it back in June 2019 to finish it this month, april 2020. Actual work started during February 2020.

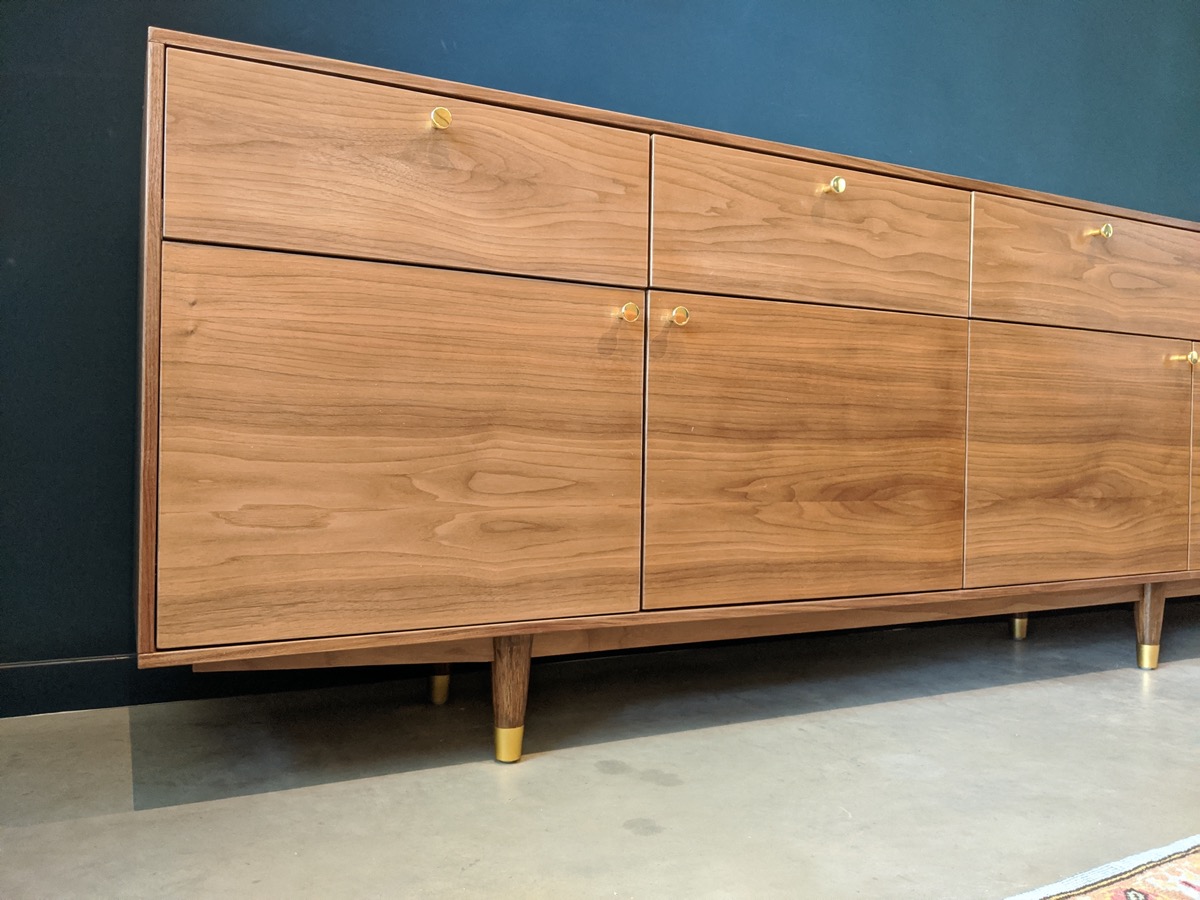
I originally added drawer pulls in the design but changed those to knobs. Also added a small taper to the bottom rails where the feet sit in.
What's special about the design is that most of the MDF is only 13 millimeters thick, which narrows your choice in joining methods and hardware.
Material cost permalink
Here's a rough breakdown of the material costs, excluding biscuits, glue and brad nails.
| Item | Cost (€) |
|---|---|
| Edge-banded walnut veneered MDF | 690.33 |
| Birch plywood (for the drawer boxes) | 47.88 |
| Feet | 43.40 |
| BAGGANÄS brass coloured knobs | 24.00 |
| Hettich Quadro V6 drawer slides | 126.25 |
| Blum Hinges for thin doors | 183.60 |
| Rustins Danish Oil | 22.50 |
| Ecotec Pro Aqua wood glaze finish | 88.60 |
| Total | 1226.56 |
Working hours: hahahaha
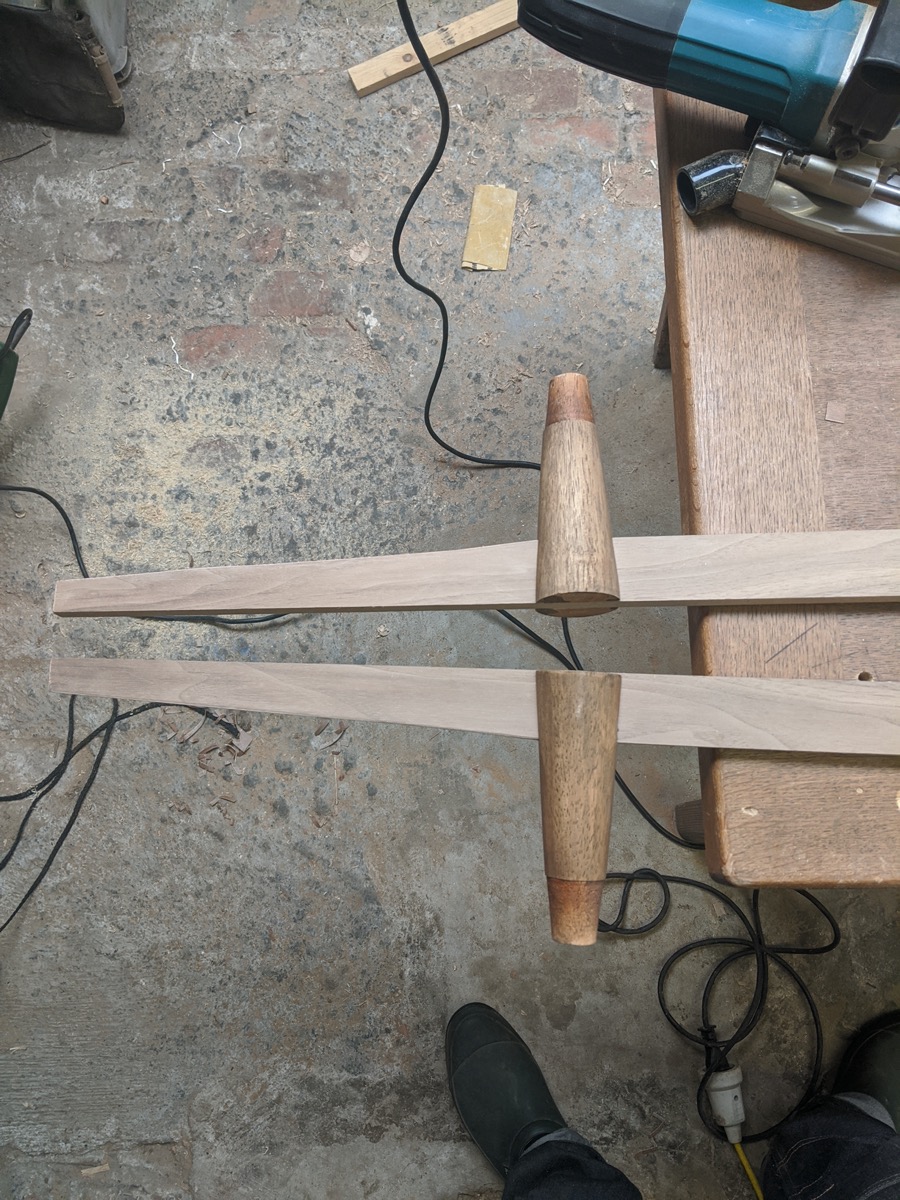
Feet permalink
I made a simple table-saw jig to make a dado in the feet where the bottom rails fit in.
Added a small taper to the bottom rails to make it somewhat more stylish.
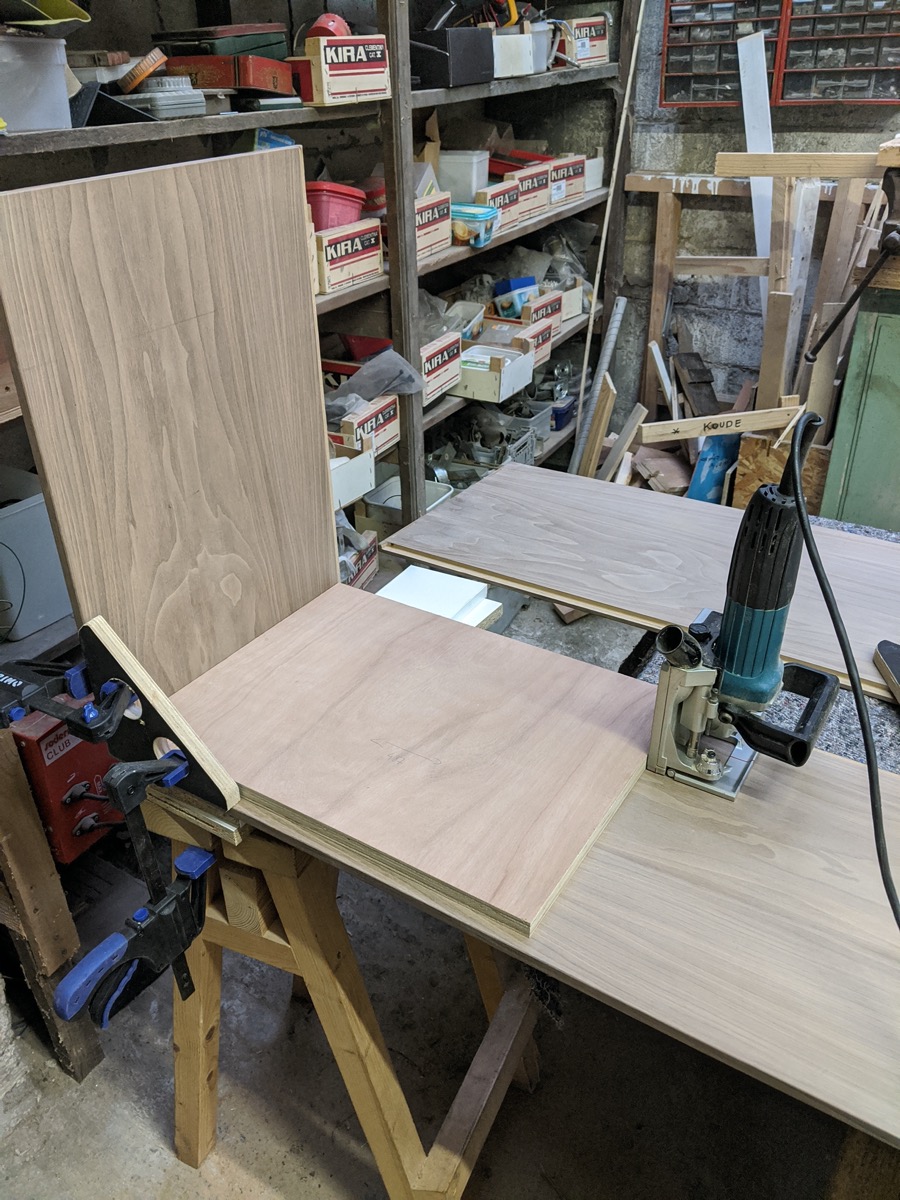
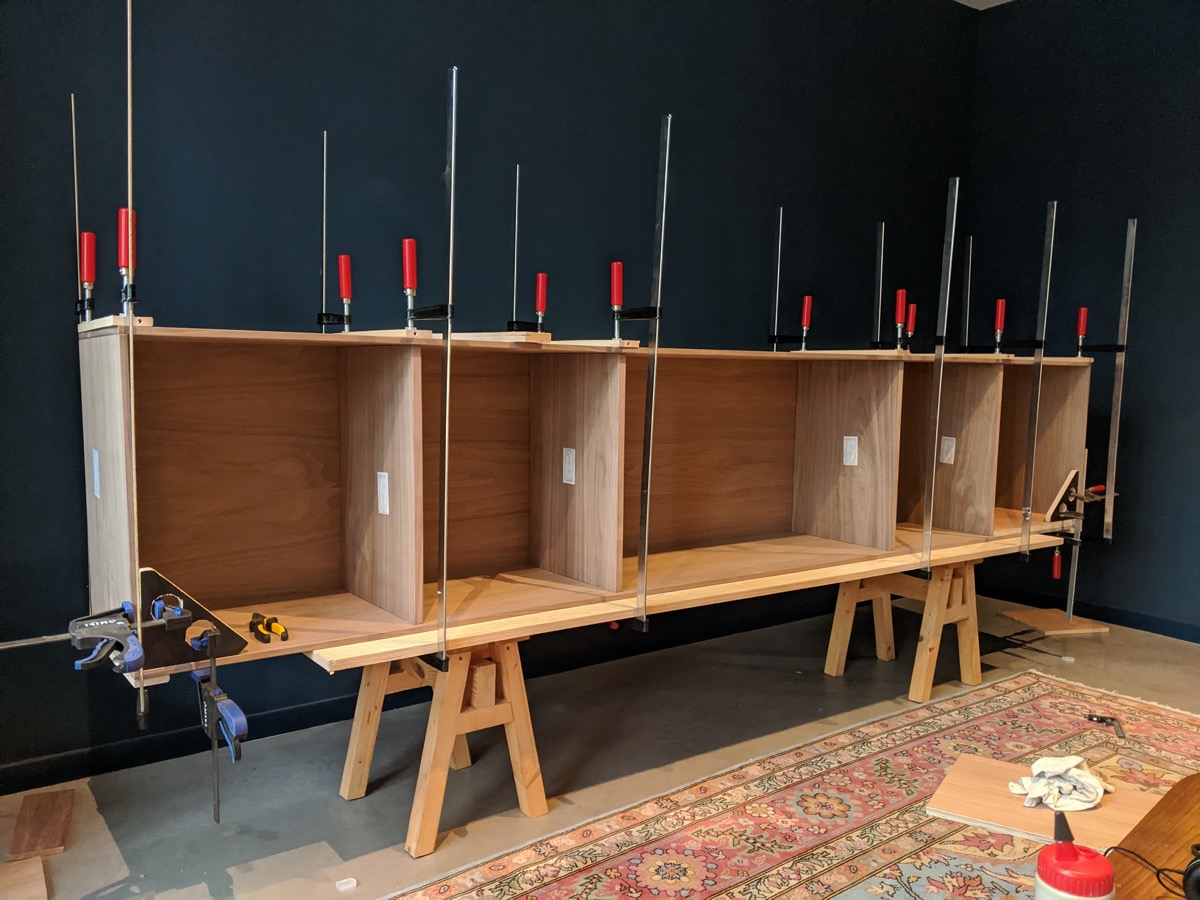
Carcass permalink
The carcass is joined using number 10 biscuits. Using a spacer board to drill is the wise thing to do here.
Bought some more clamps on an auction because ... you can never have enough clamps.
The back sits in a small rabbet and is glued and bradnailed in place.
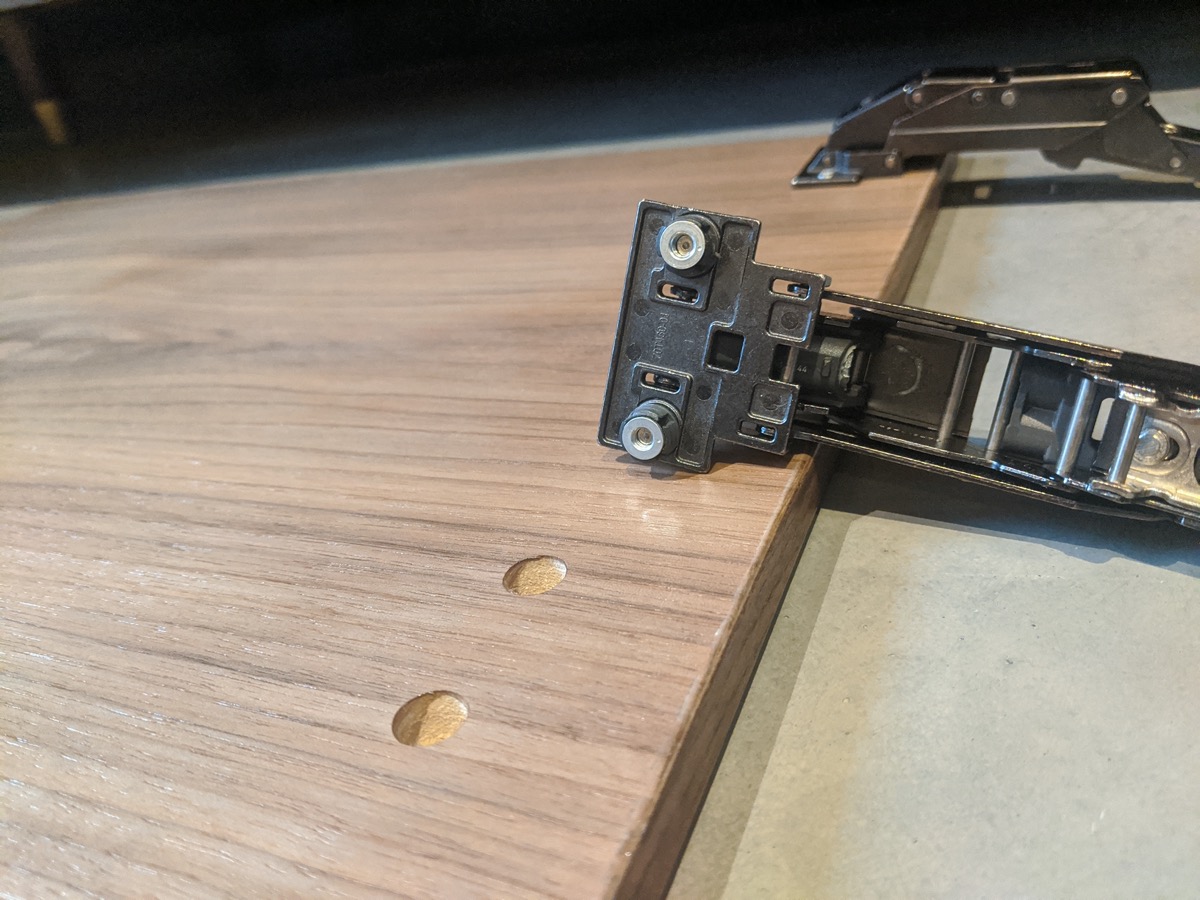
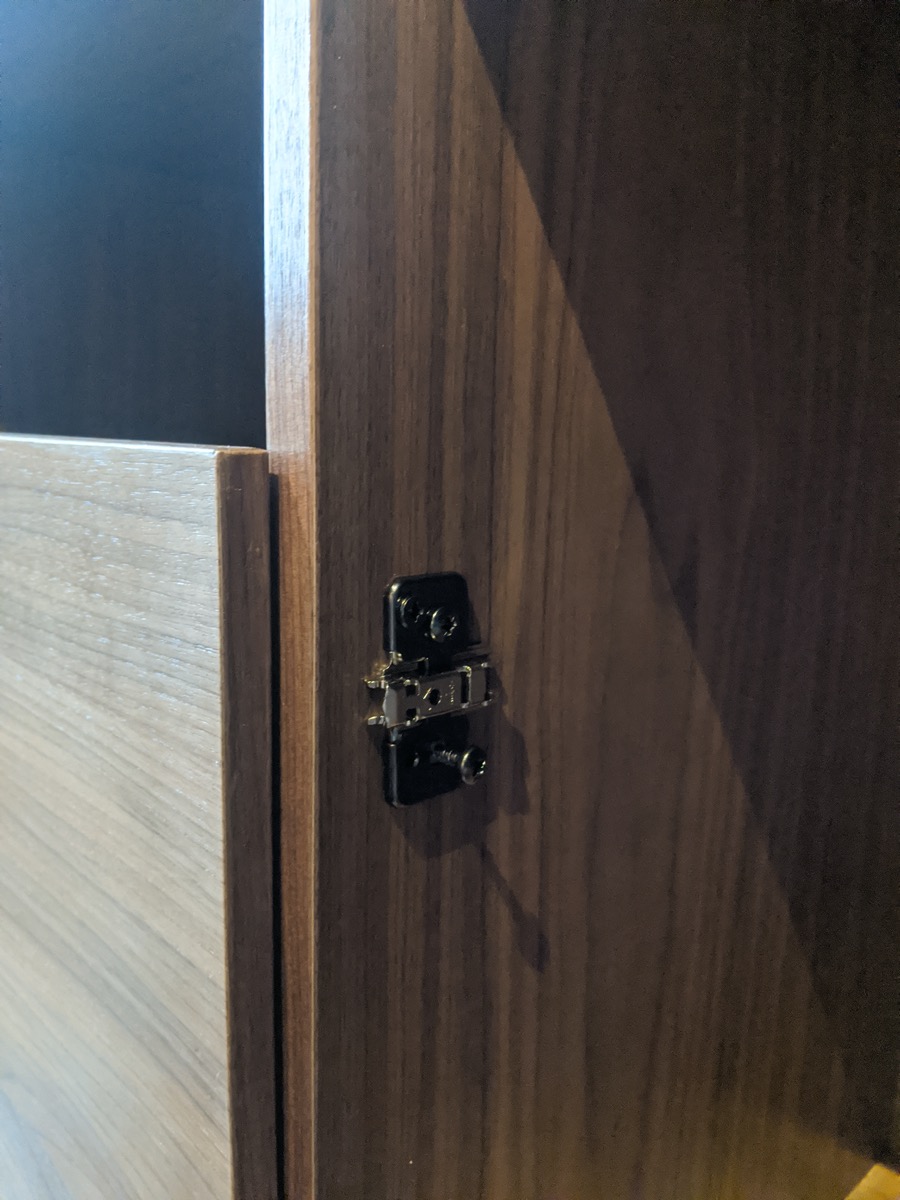
Hinges permalink
These Blum hinges for thin doors use their EXPANDO system, which is pretty neat.
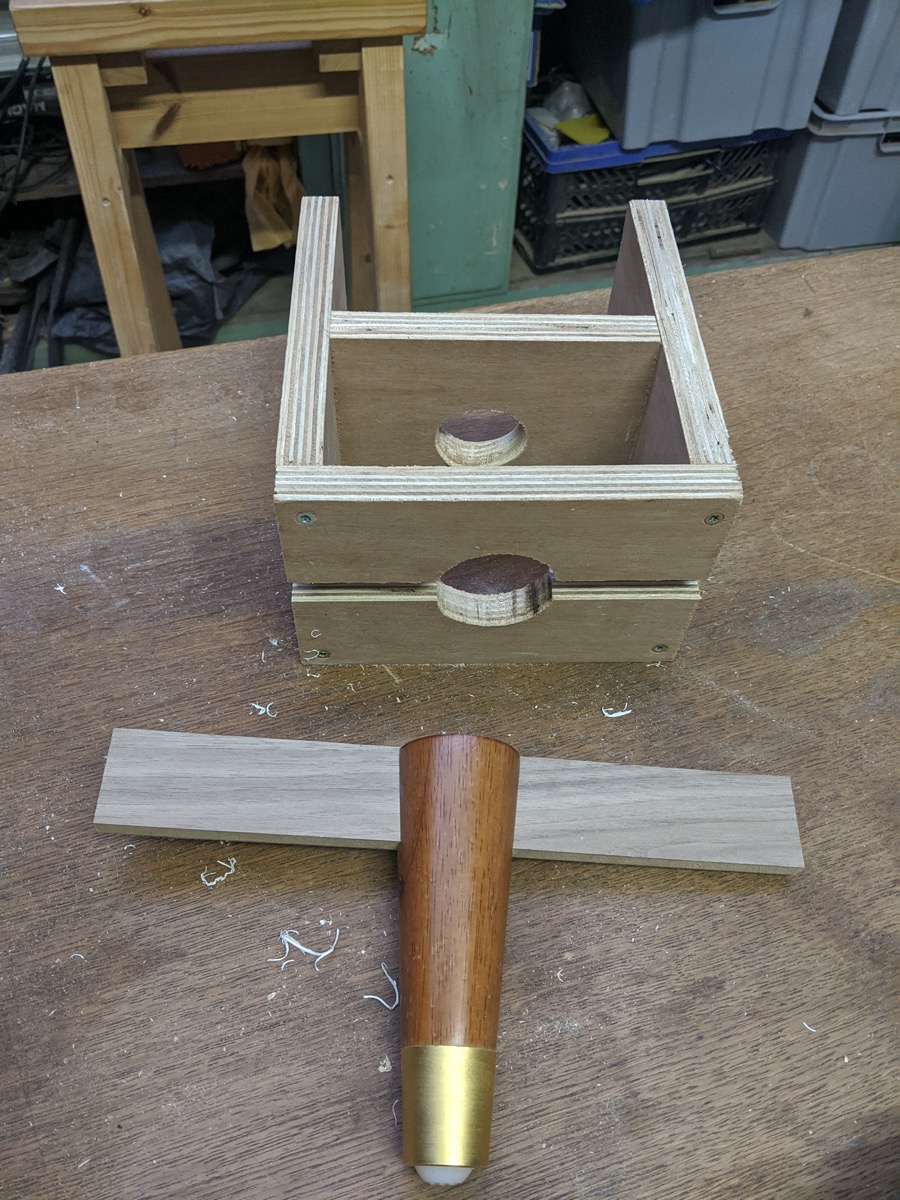
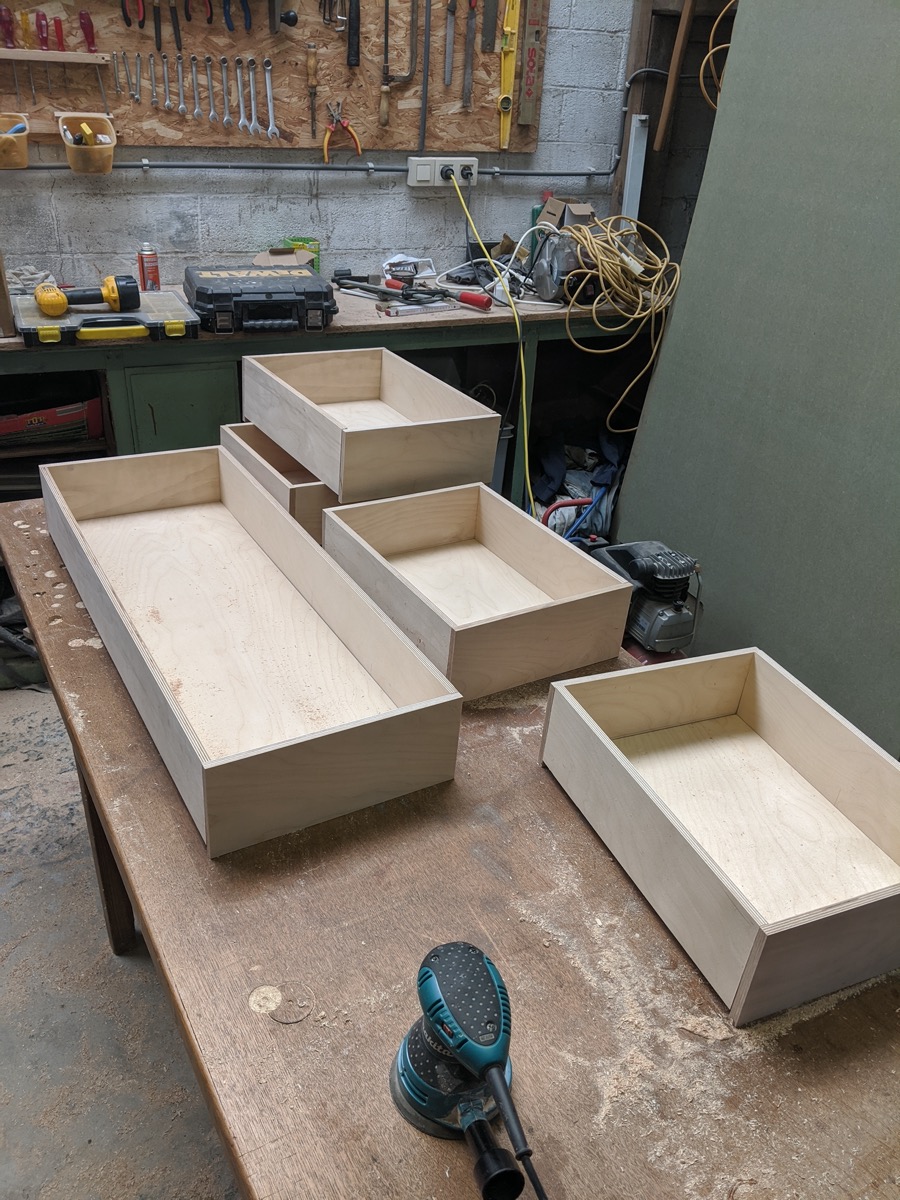
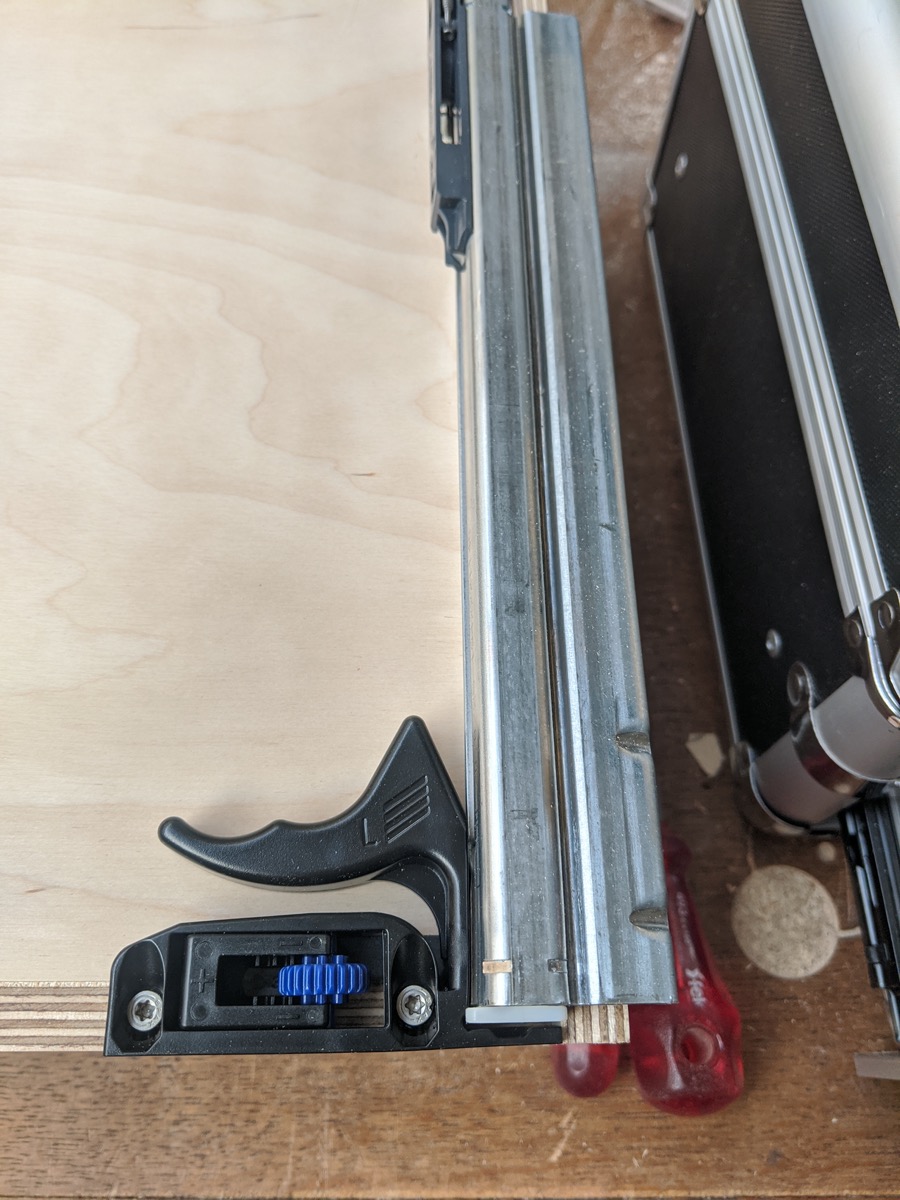
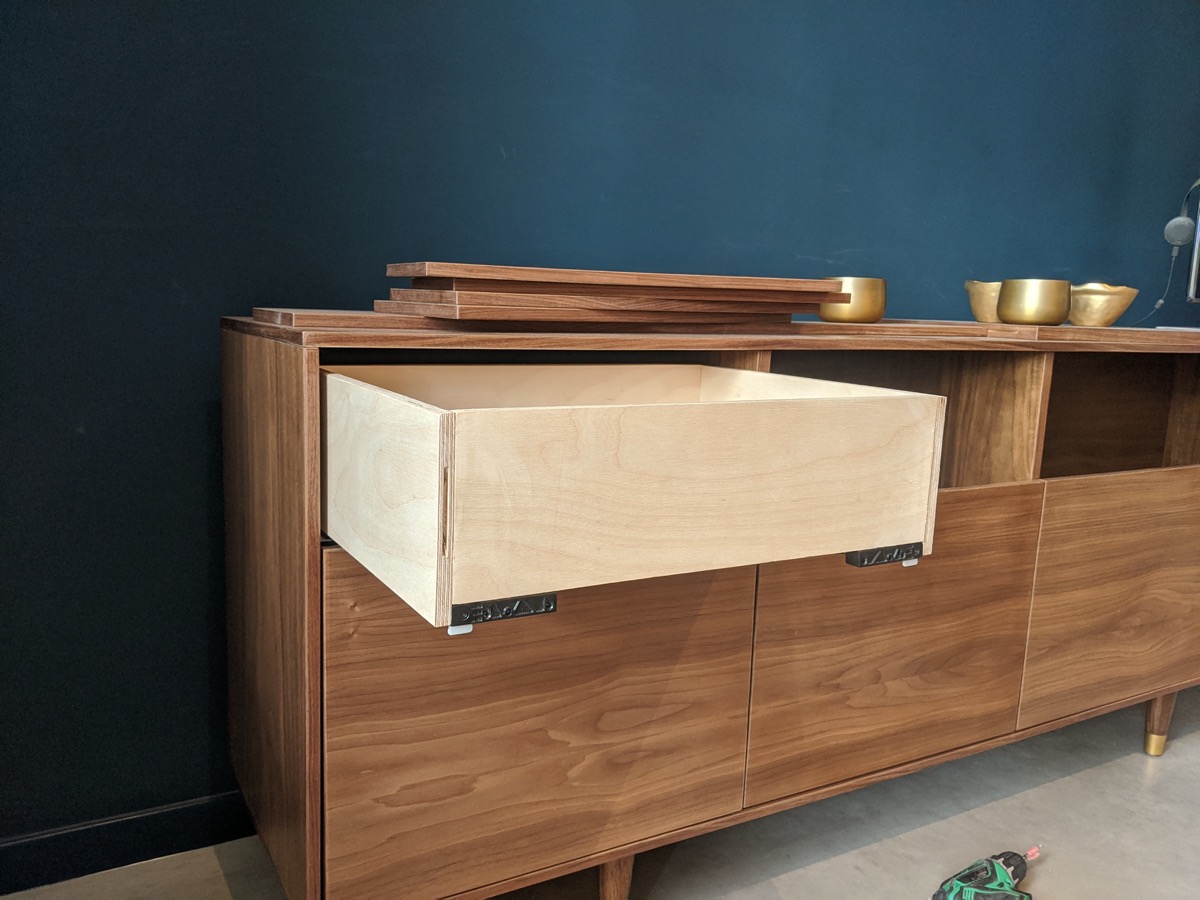
Drawers permalink
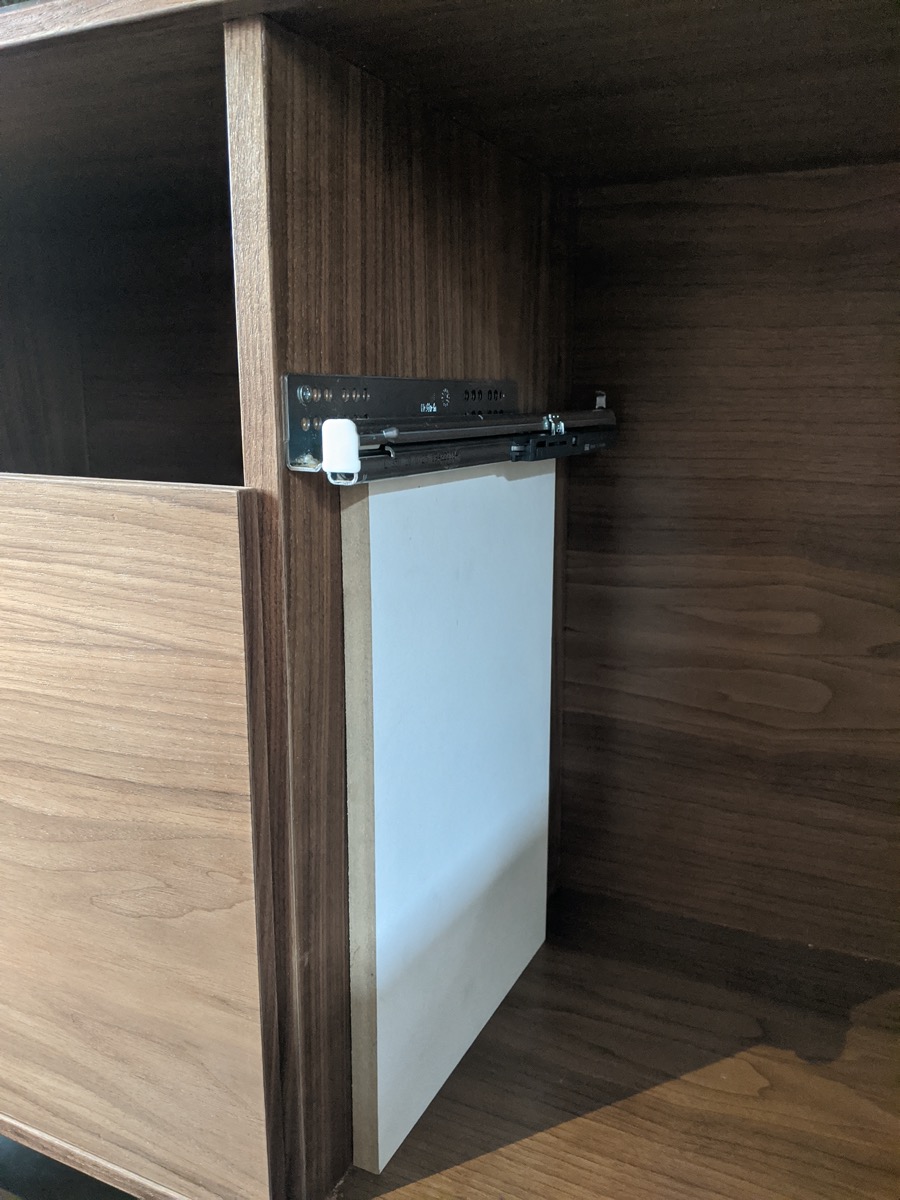
Took me a while to figure out how to best construct the drawers for the undermount drawer slides. Can't say I'm surprised as the instructions that come with the slides tend to be rubbish across all brands.
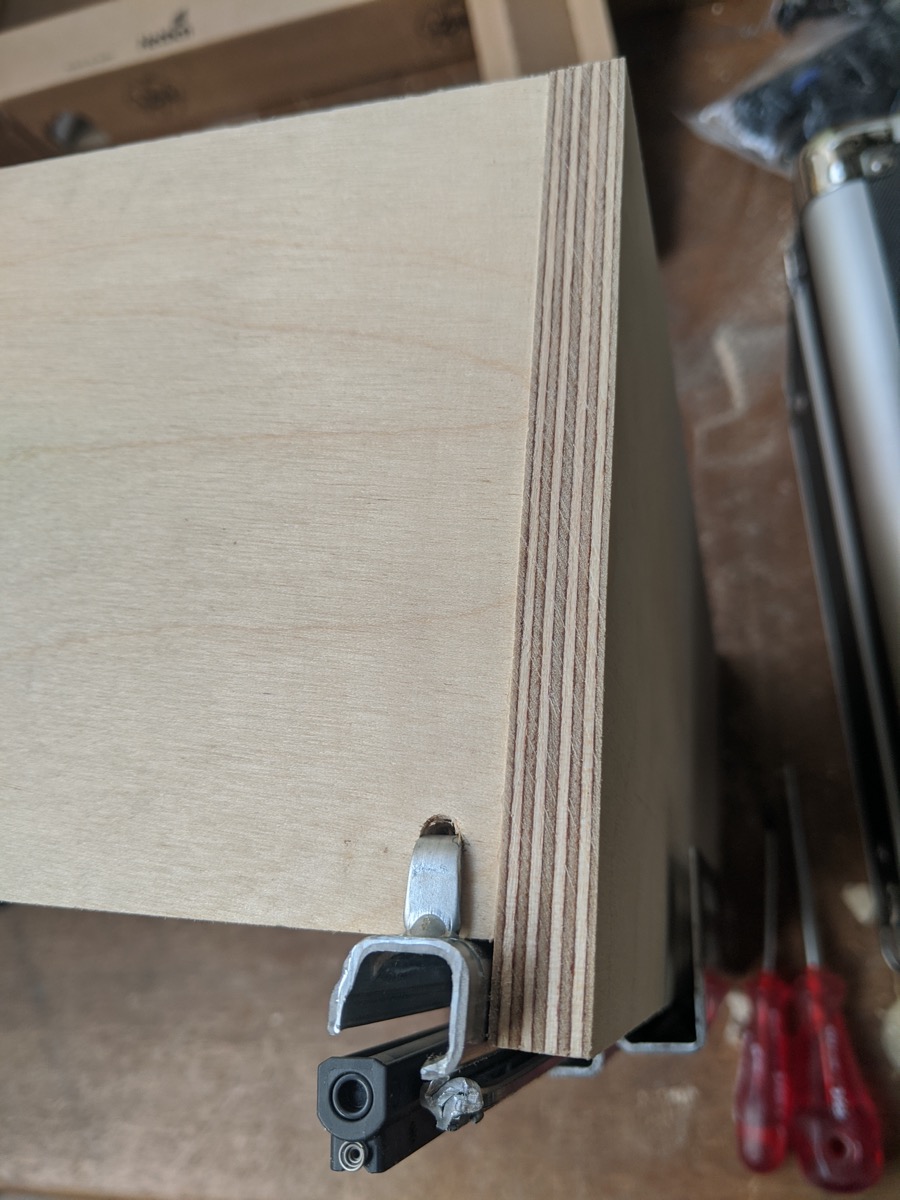
The slides clip on pretty easily to this bracket you install along the front.
To avoid cutting a notch in the back, I constructed the drawer boxes like this. Only a small hole is needed to secure the catch.
Used a spacer to install the slides in the carcass.
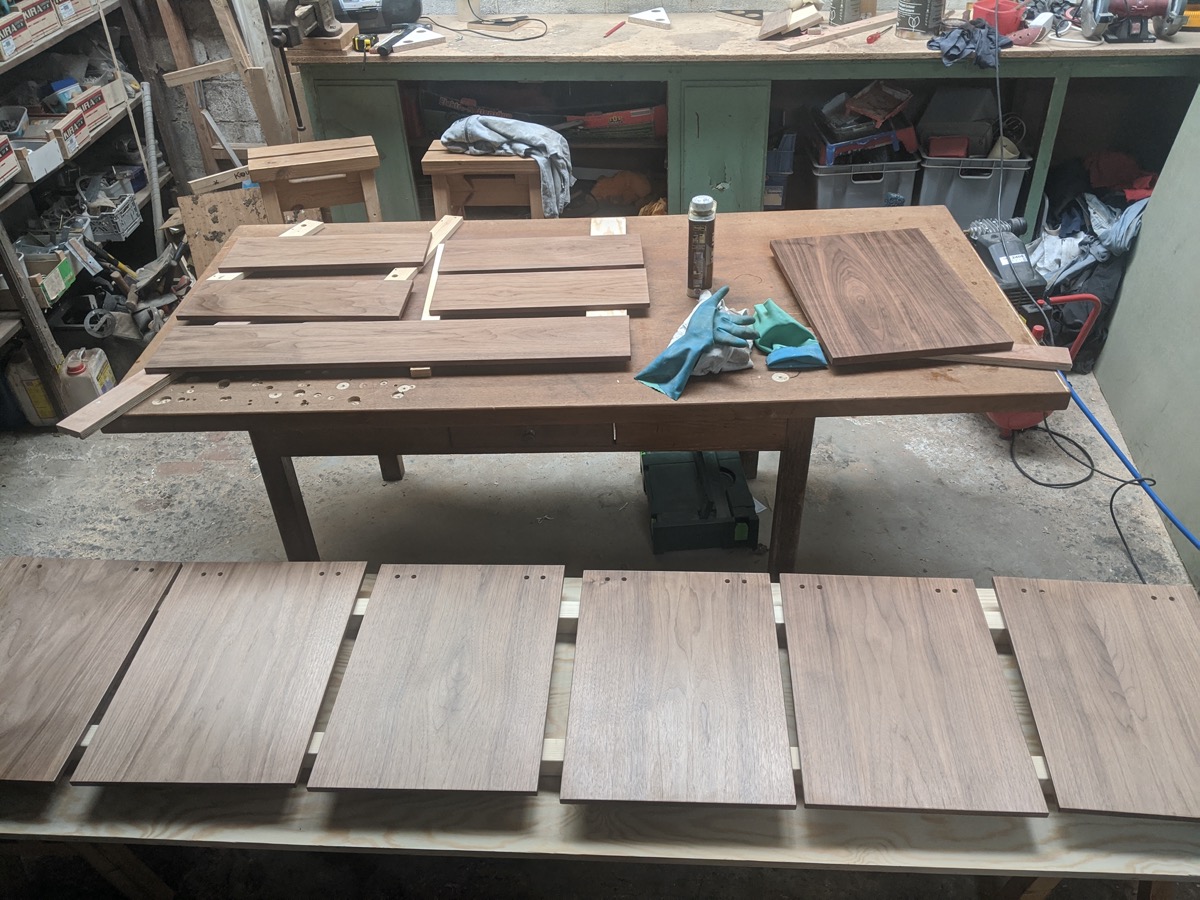
Finish permalink
Used Danish oil and a glazing finish.
Final assembly permalink
Drawer fronts where temporarily attached using double-sided tape and then screwed in from the back.
Lessons learned permalink
- Getting the spacing around the drawer fronts and doors perfect is fecking hard.
- Continuous grain makes or breaks a piece.