I still had plenty of plywood scraps laying around so decided to make desks for the kids.
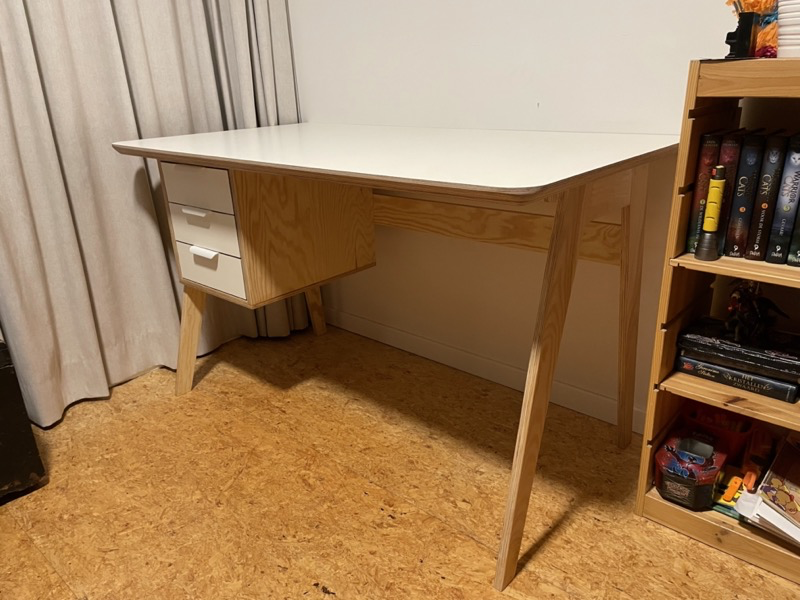
I bought plans from the nicest woodworker in the southern hemisphere and went to work. I still had enough material for the base and drawer unit and only had to order the tops. I went with 29 mm birch plywood with a laminate top layer.
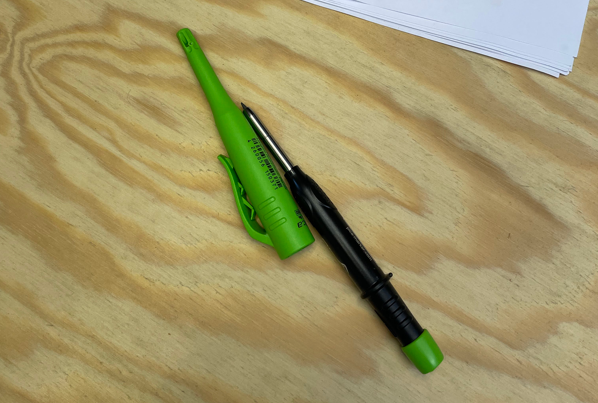
Never thought I could be in love with a pencil, but this new Pica dry marker is simply great. I had been using cheap mechanical pencils for years and was fed up with the lead breaking all the time. Marking on dark wood was also rather hard. Enter the Pica dry marker!
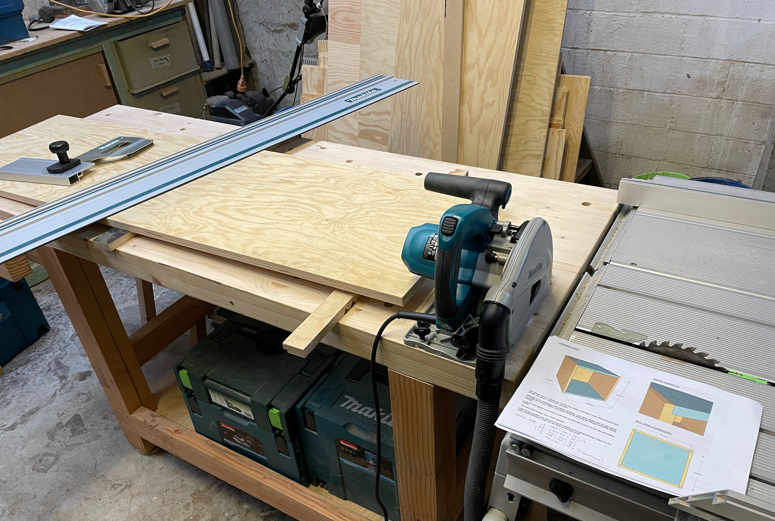
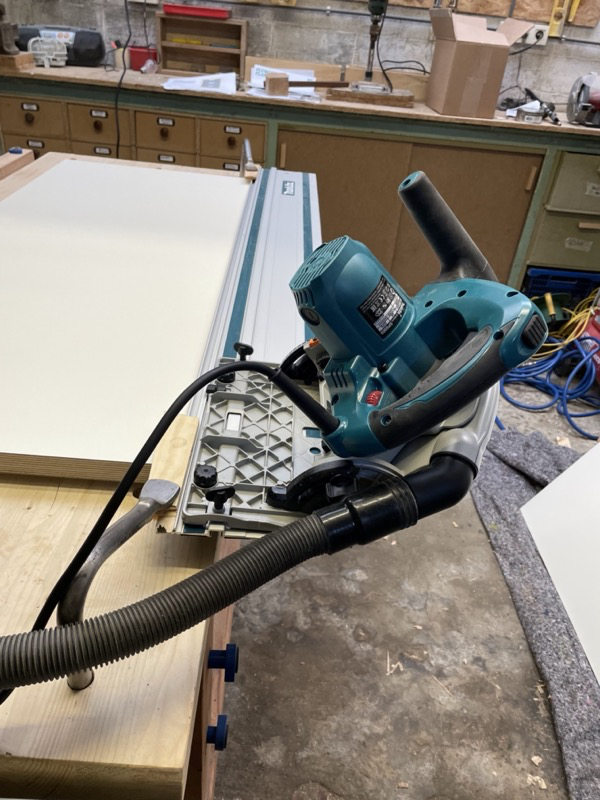
New Makita tracksaw. Finally some dust collection which was sorely lacking on my trusty Dewalt.
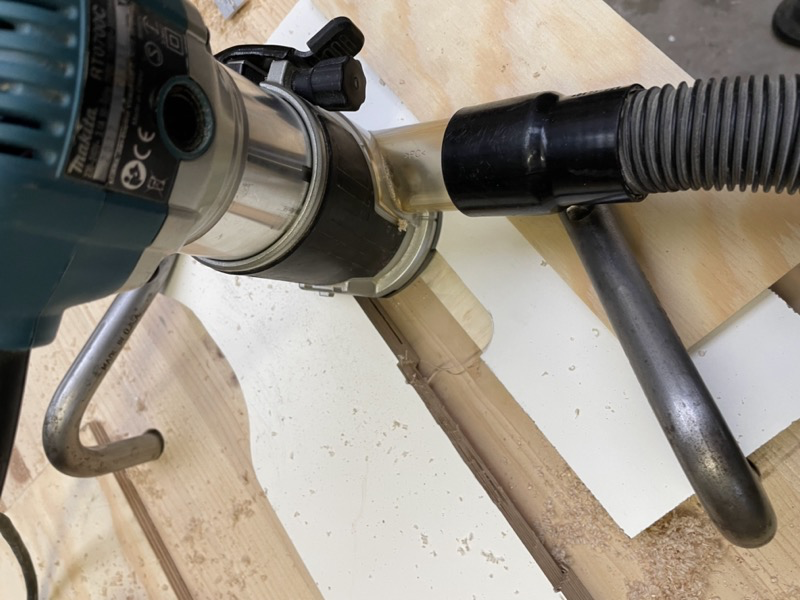
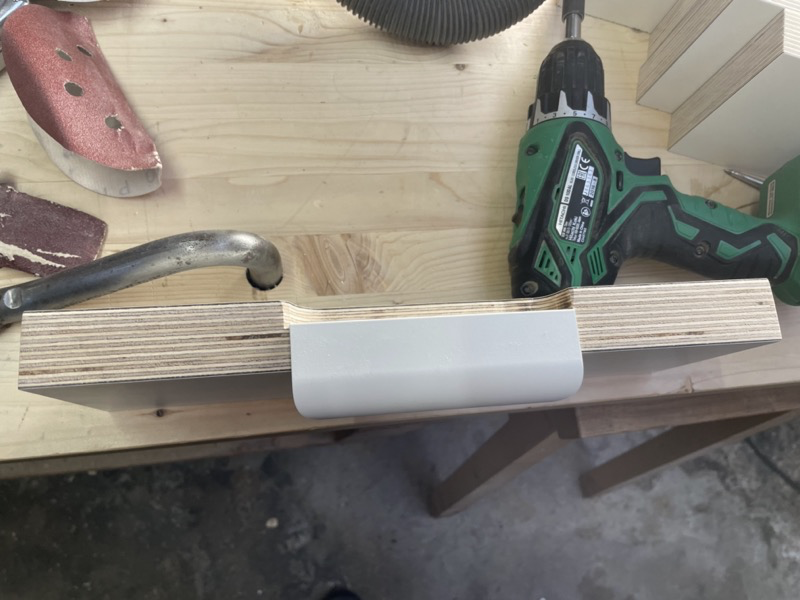
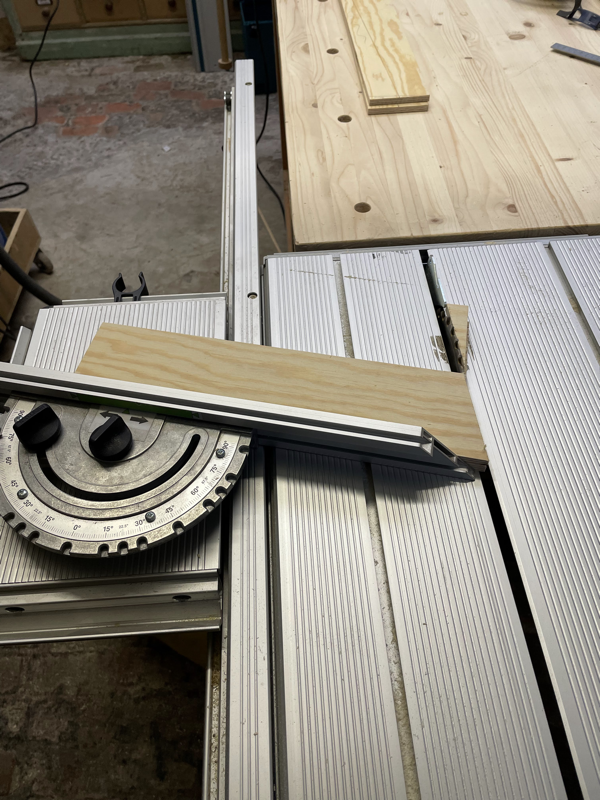
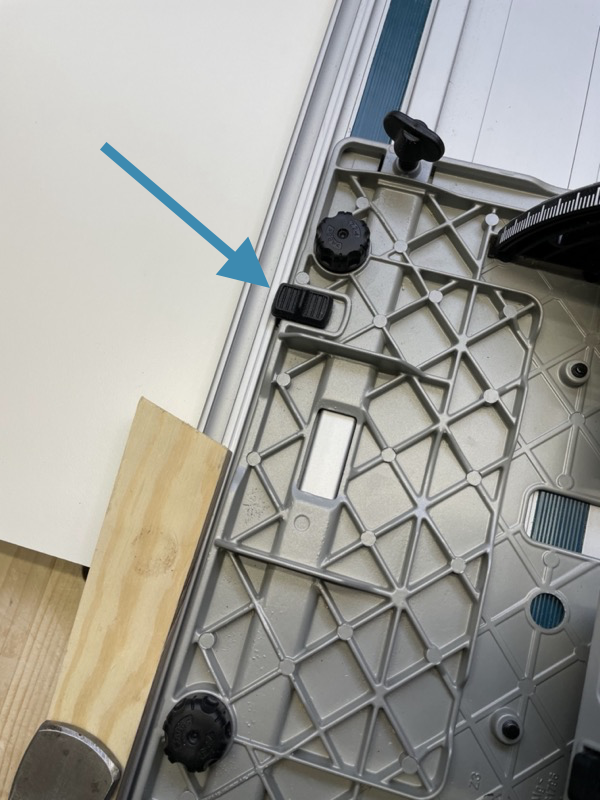
For the undercut bevel, Neil uses his table saw but I was not very comfortable doing it that way (one of the many laws of woodworking I abide by, don't make the cut if you don't feel comfortable doing it). I used my new tracksaw and overhung the track a bit. Worked mighty fine. This method can only produce 45 degree cuts of course. You could prop something under the track to make a bigger angle, but again, I was not very comfortable doing that.
This handy little lip prevents the saw from falling off the track
Bevel away!
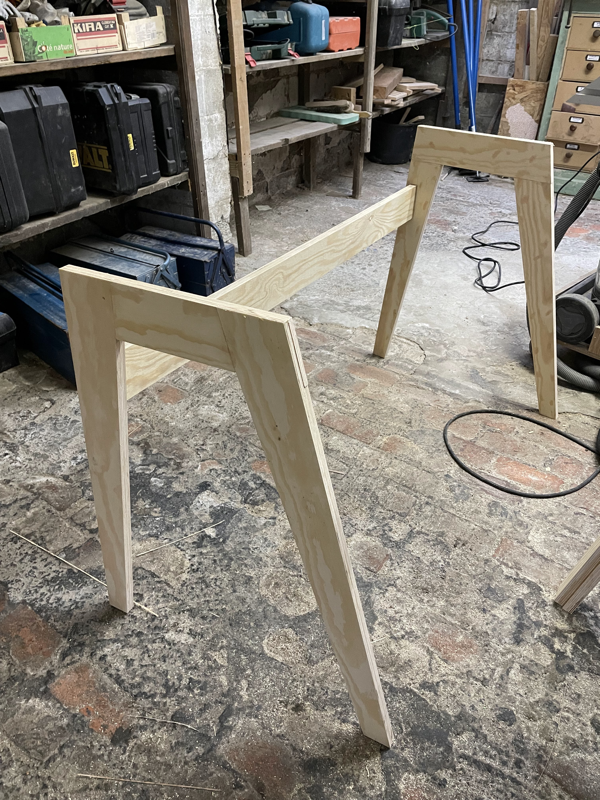
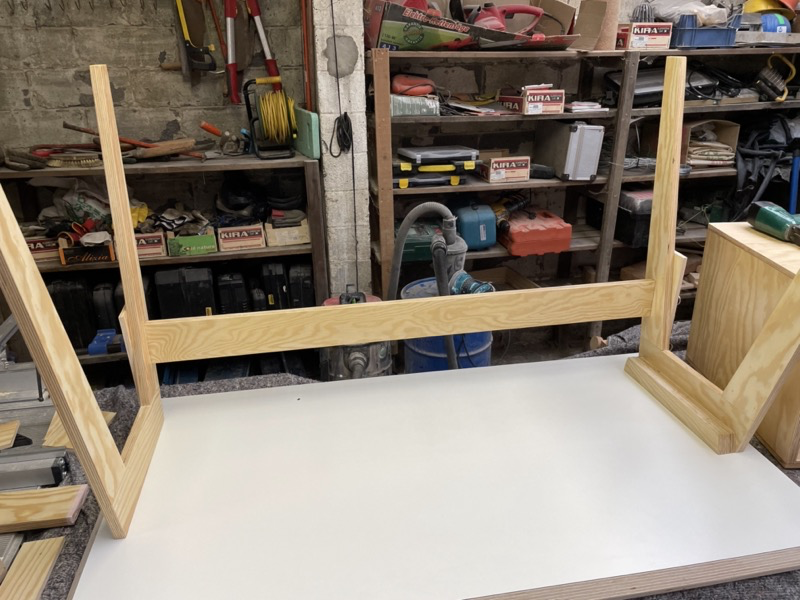
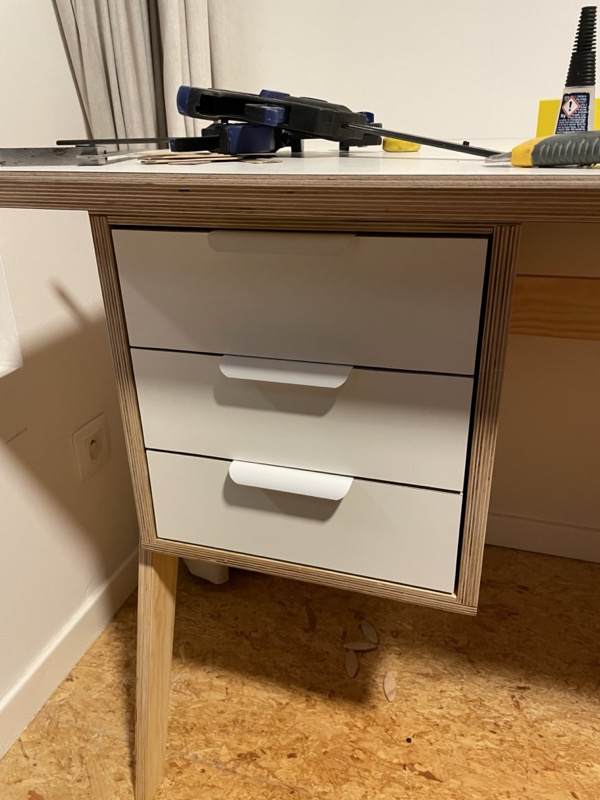
The top is screwed in place. On one side through a cleat, on the other side straight through the drawer unit, which is also fixed to the back stretcher.
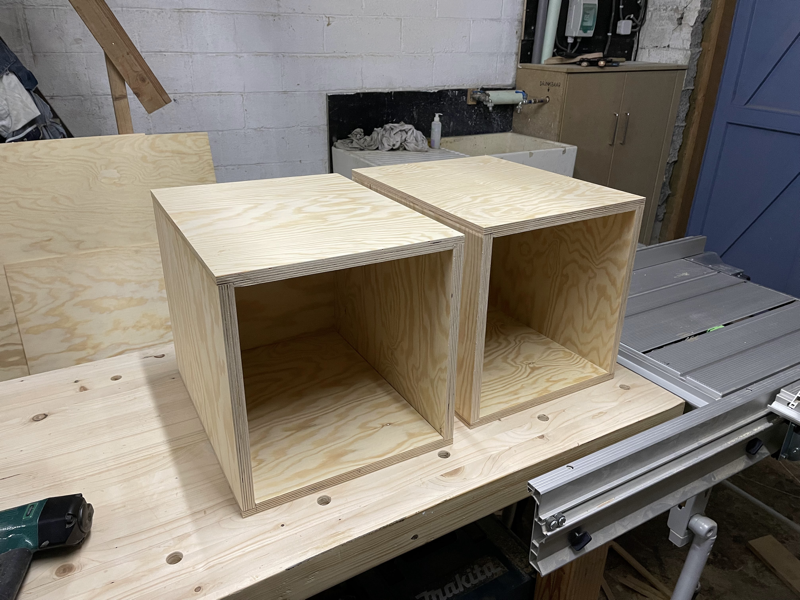
Final assembly
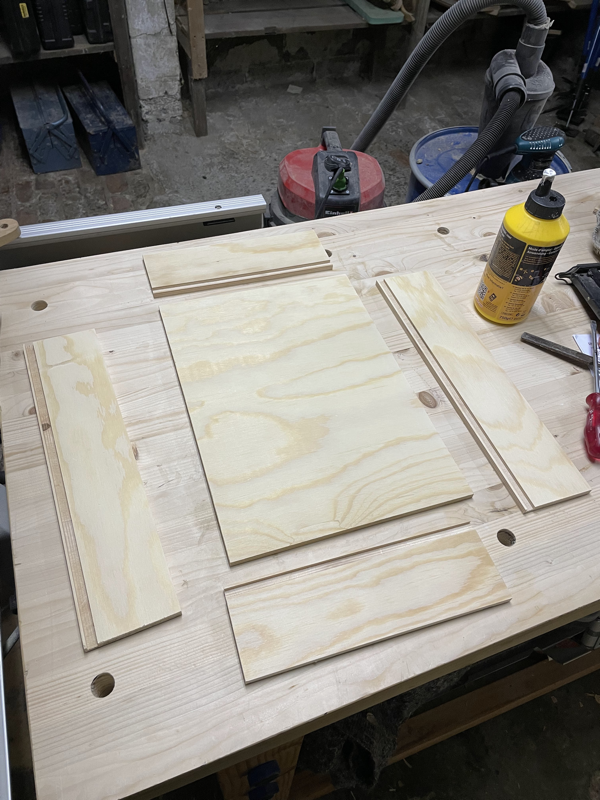
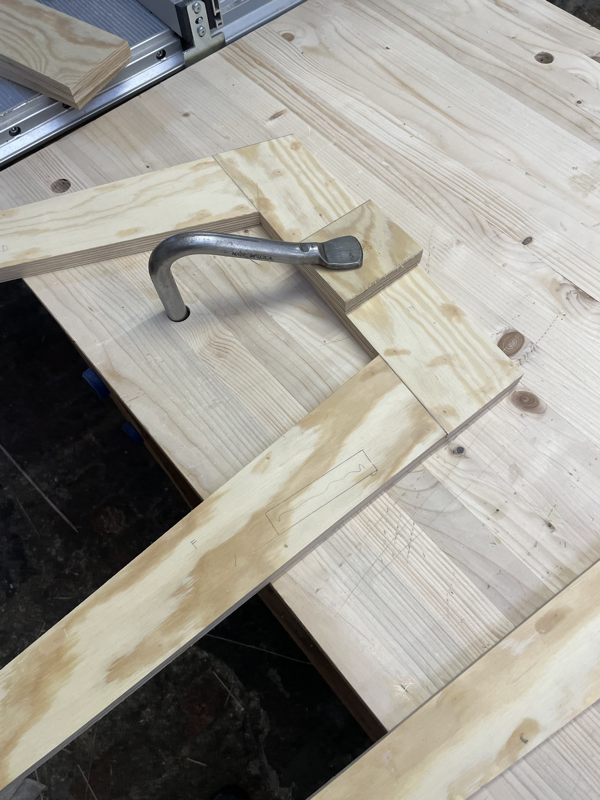
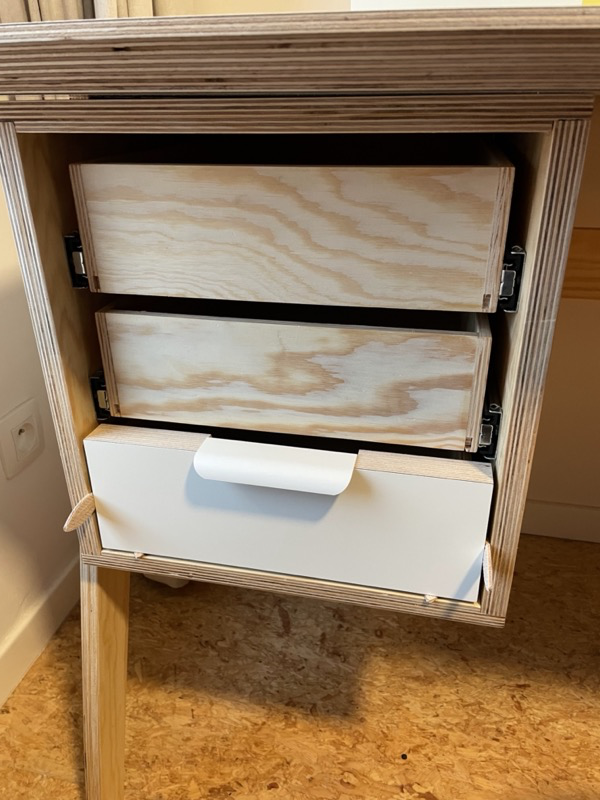
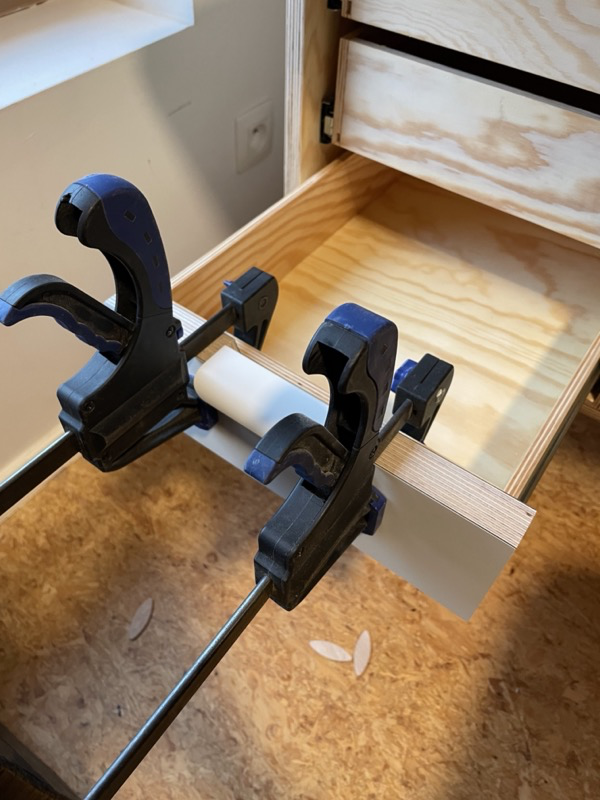
Used biscuits to space out the fronts. First tried to temporarily superglue the fronts in place but the plywood was having none of it. Used doubleside tape instead.
Clamped the fronts in place and drove in some screws from the back.