Bathroom closets
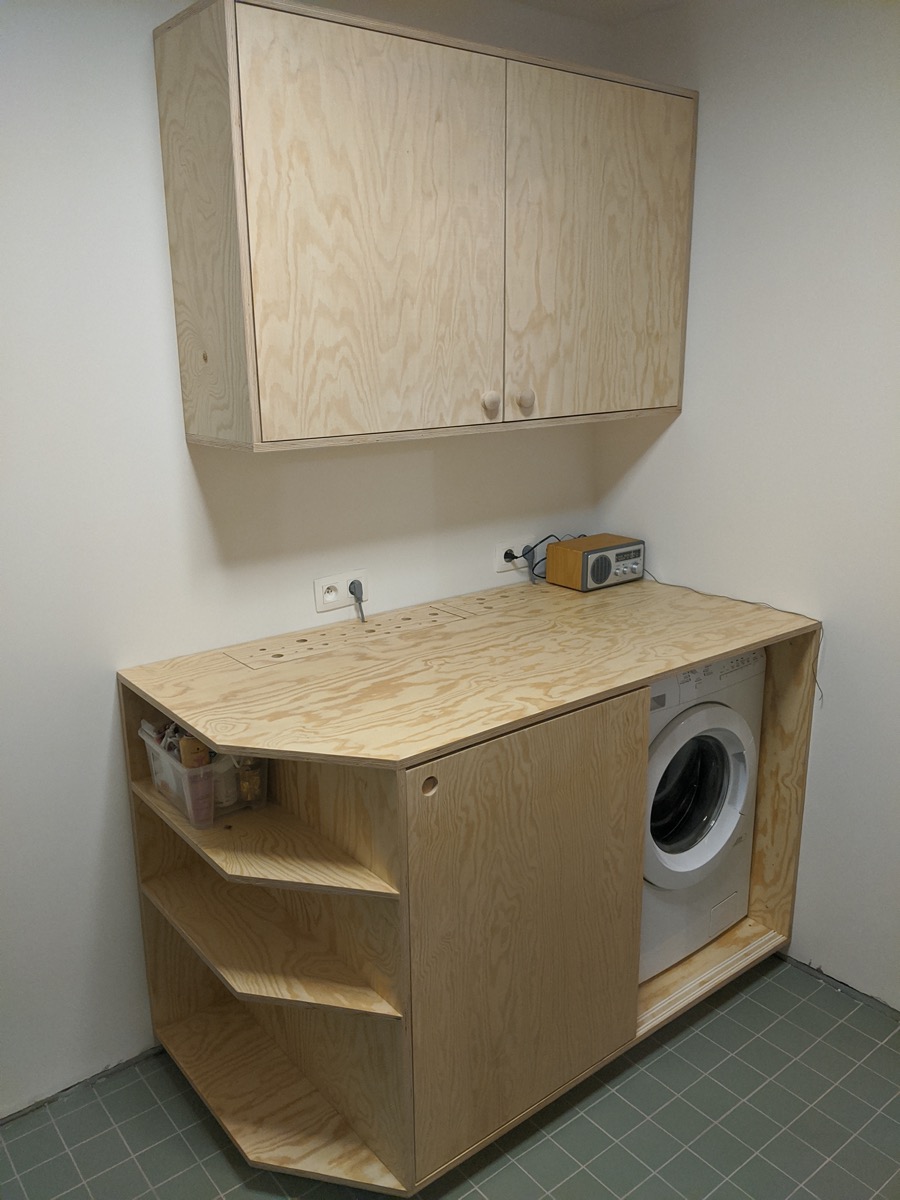
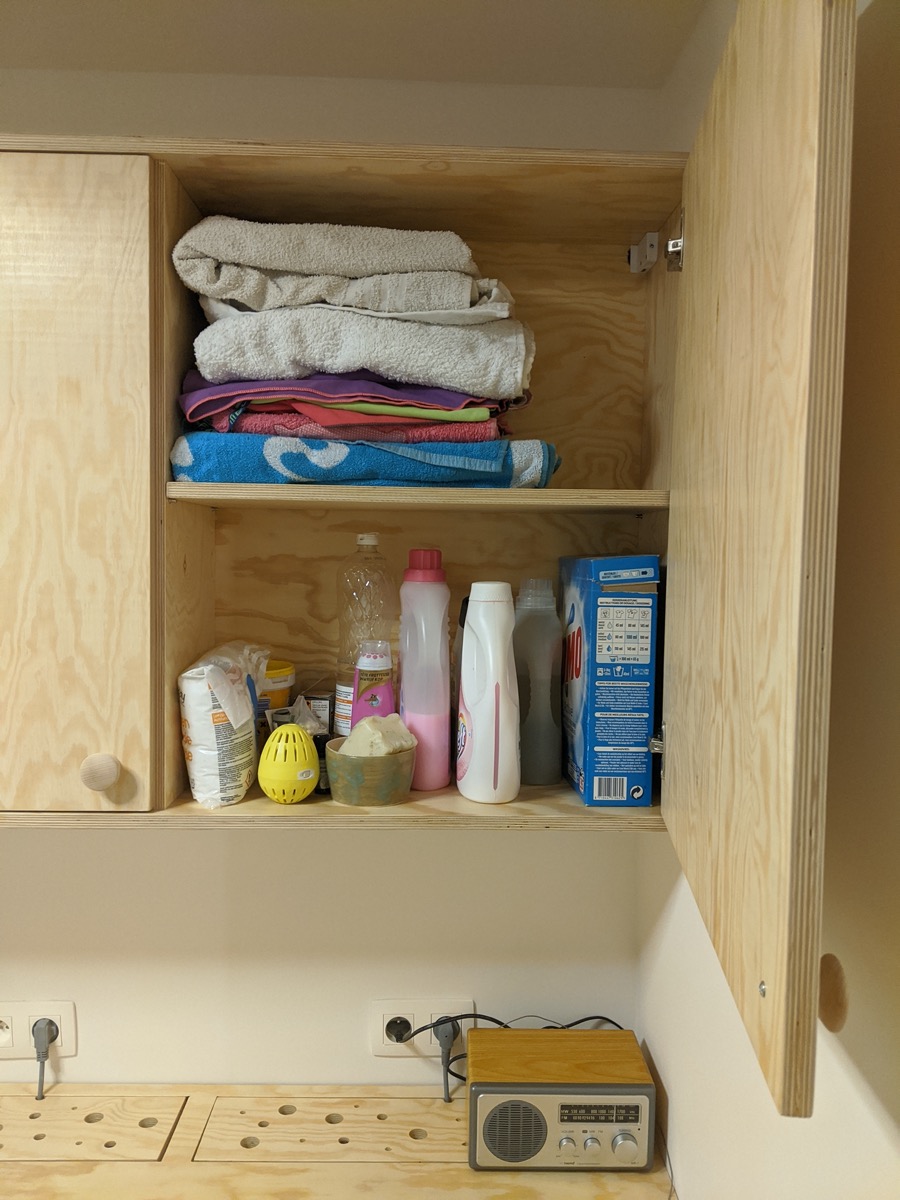
After tiling the bathroom floor we decided to put the washing machine and dryer in a dedicated closet. And also add a simple hanging cabinet with two doors. Made out of plywood, what else!
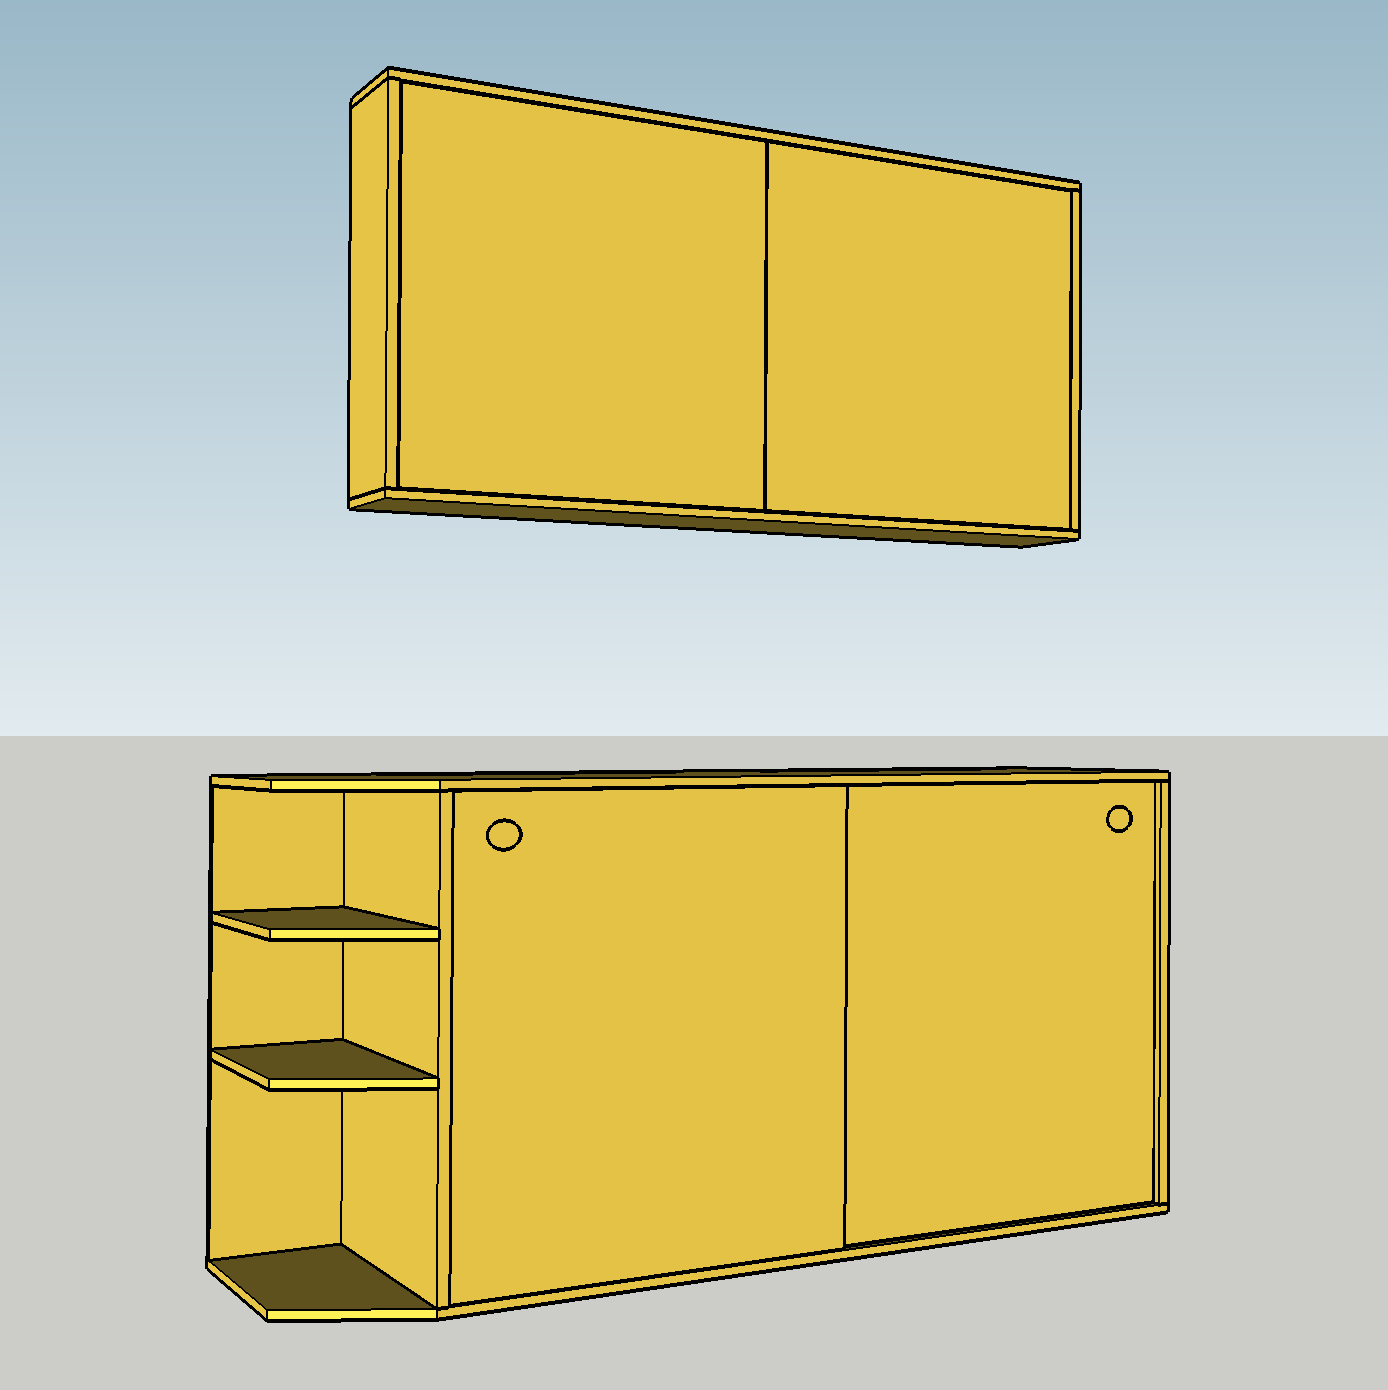
Here's what the plans look like in SketchUp.
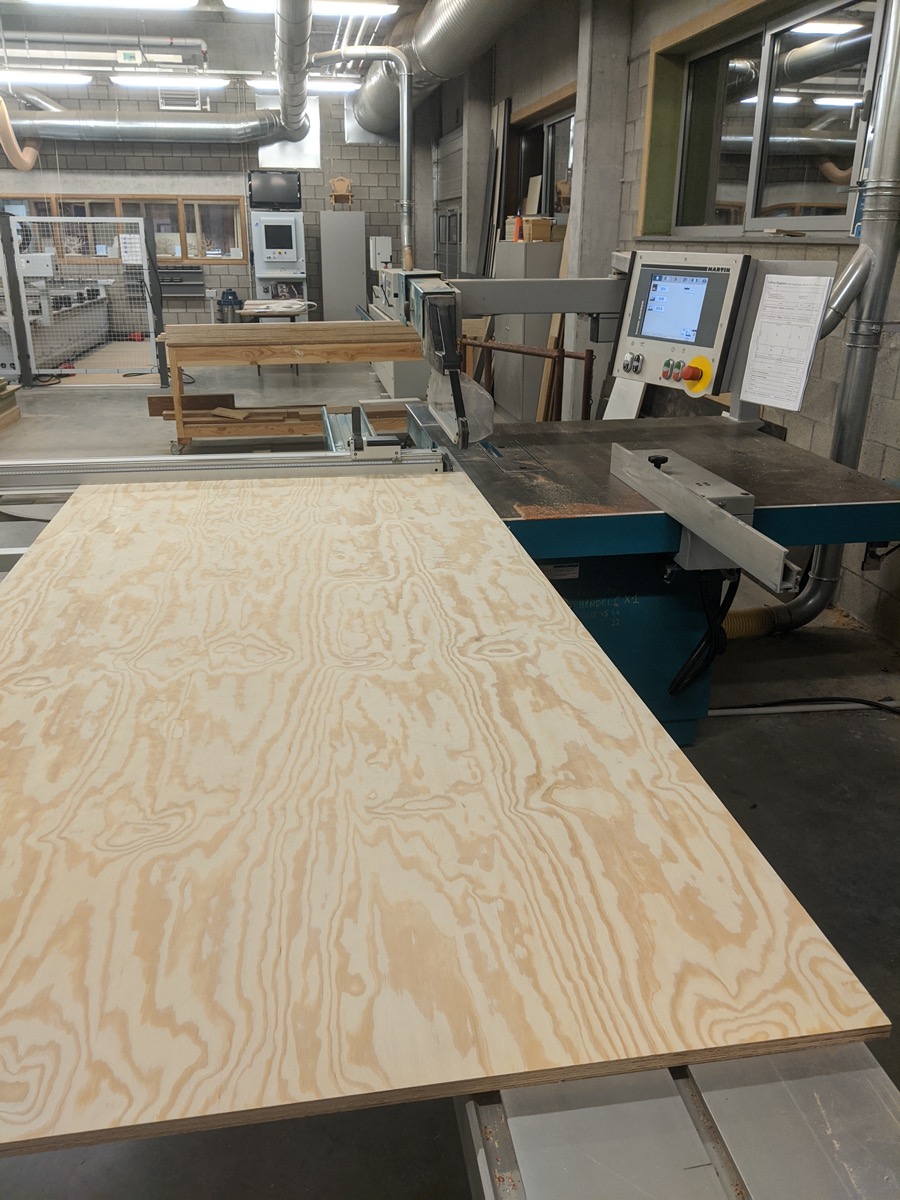
These require 5 sheets of 18 mm plywood, which I cut on this massive sliding table saw.
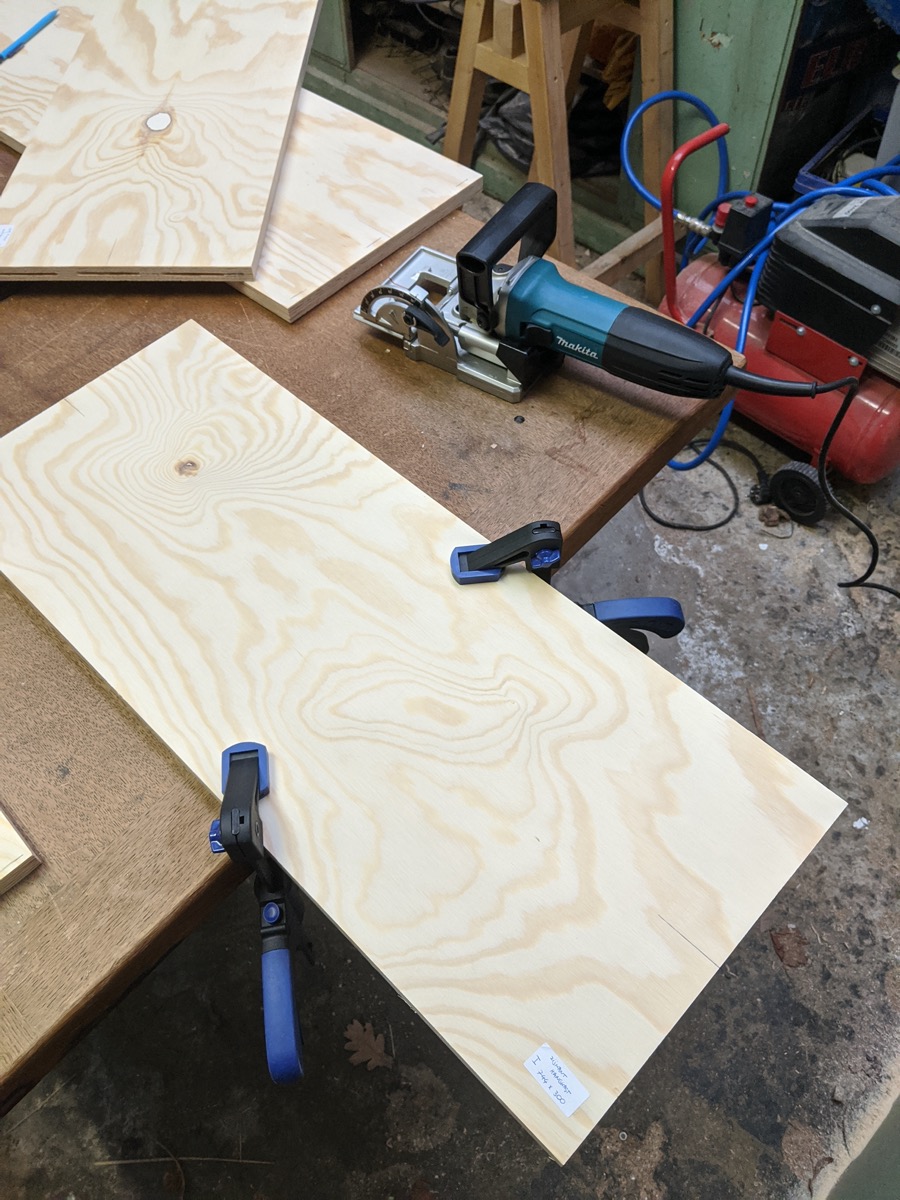
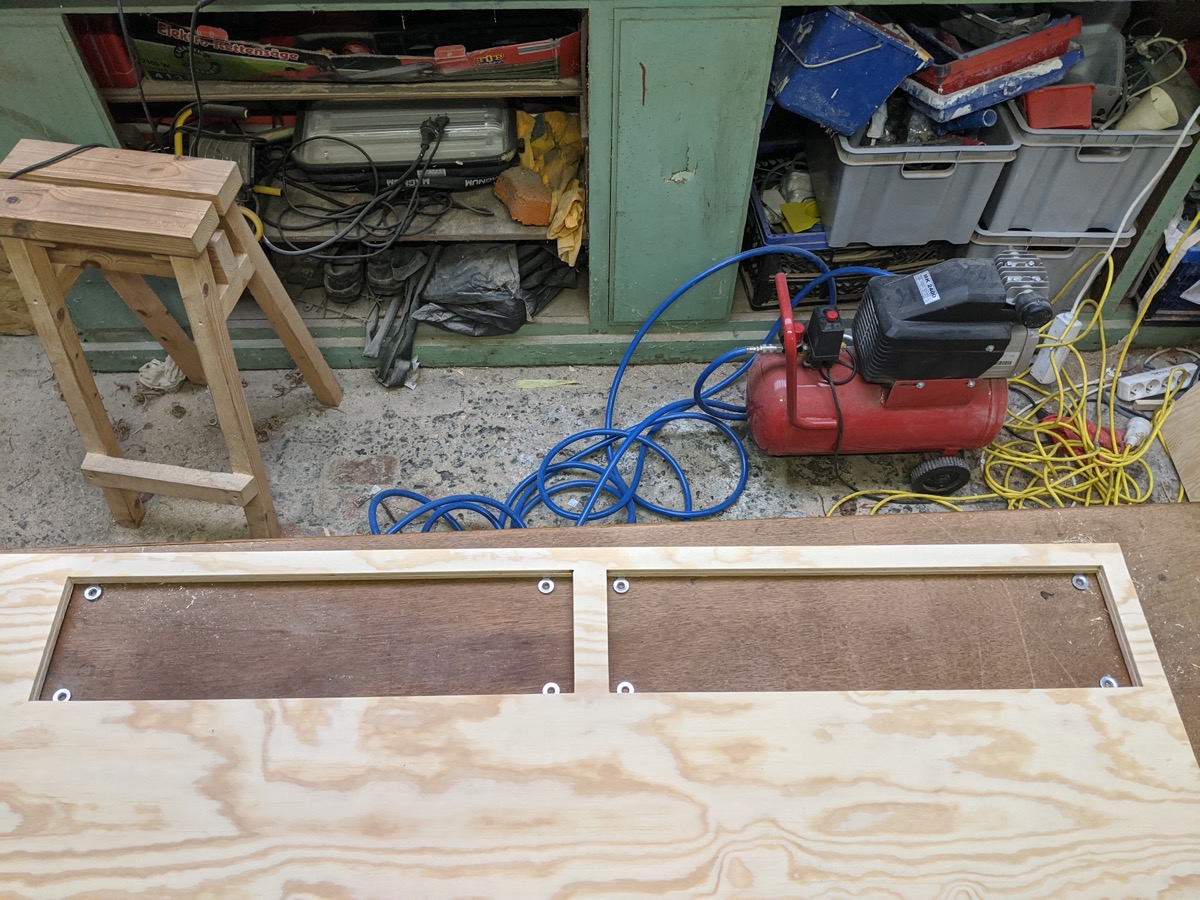
Used glue and biscuit joints for the visible joints and glue and screws for the rest.
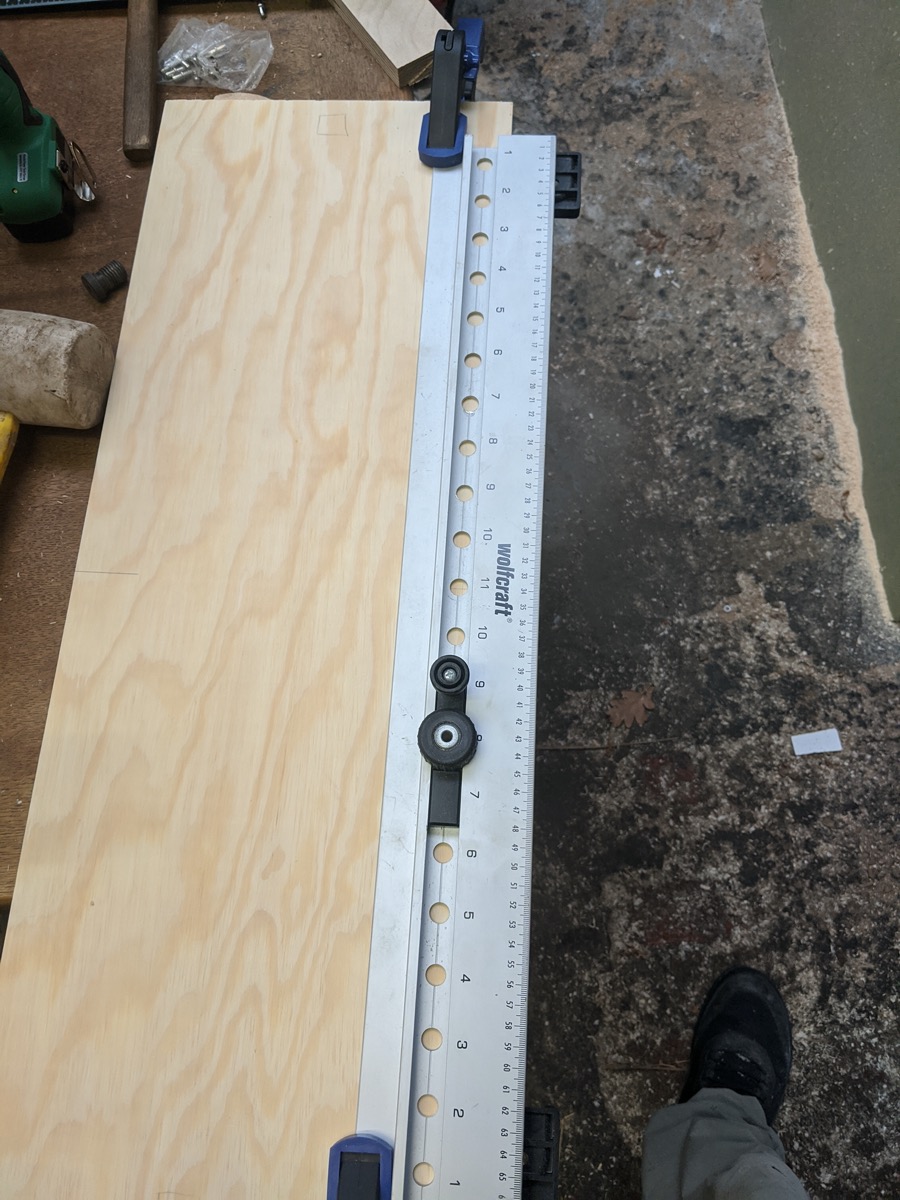
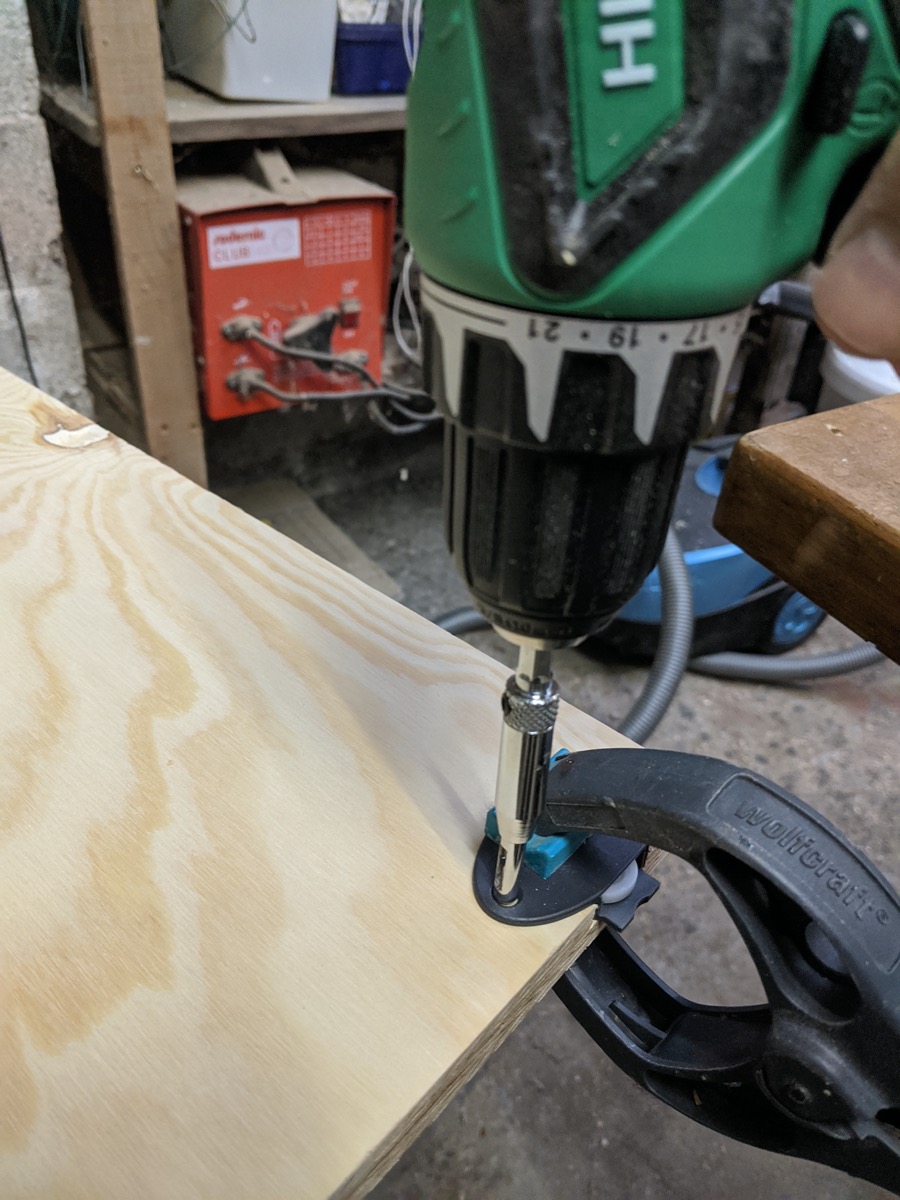
Shelf pin holes were drilled using my Wolfcraft doweling jig.
Routed out grooves for the Hettich sliding door system that I used previously on another cabinet. The hardware fits nicely into a standard 35 mm hole.
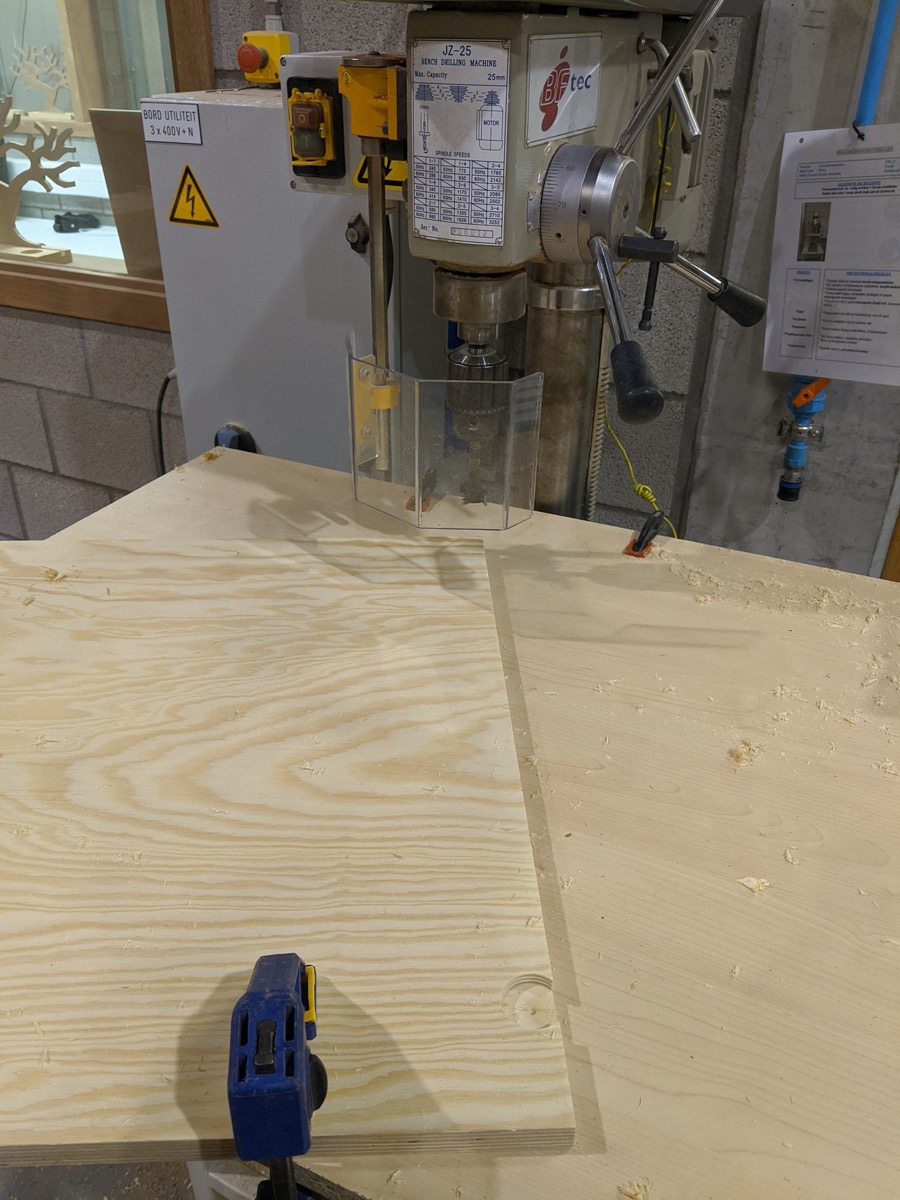
Did I already tell that self-centering drill bits are awesome.
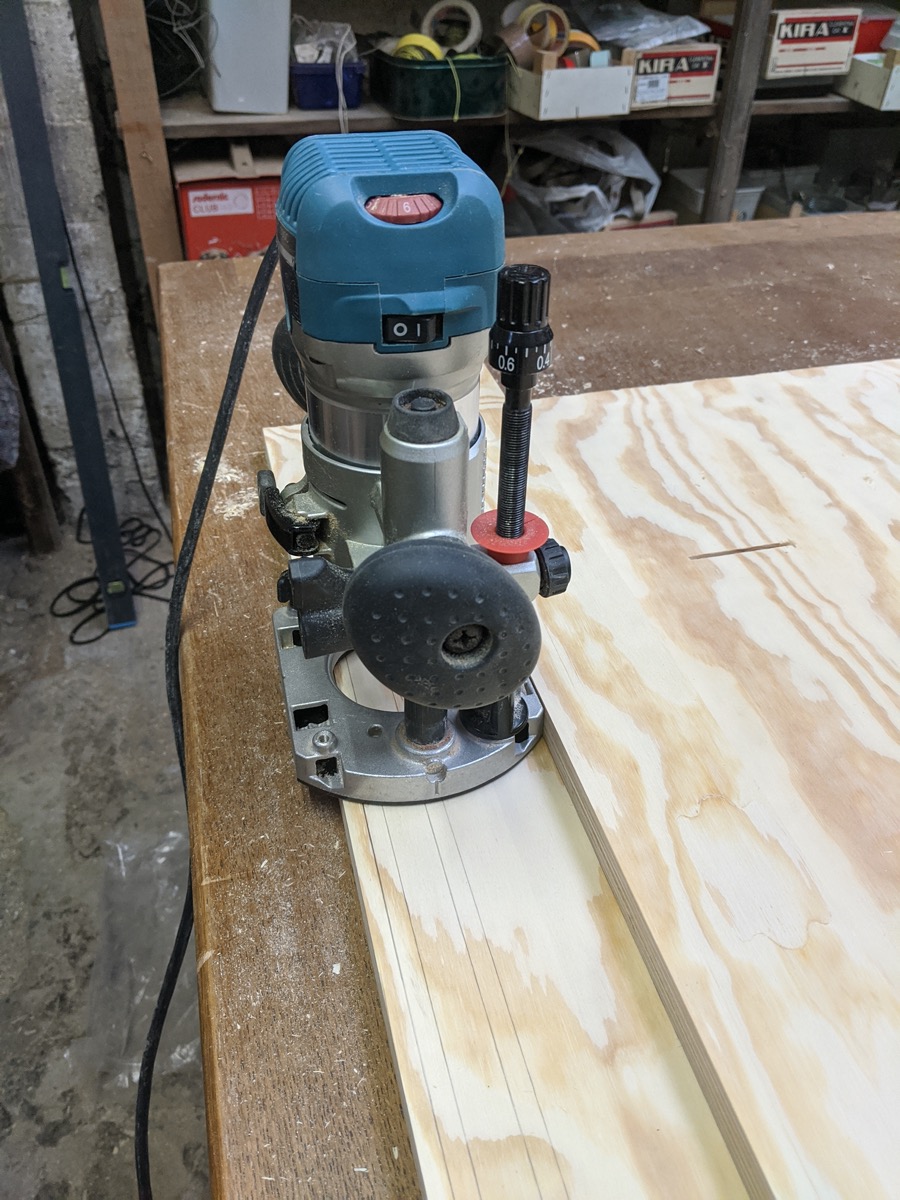
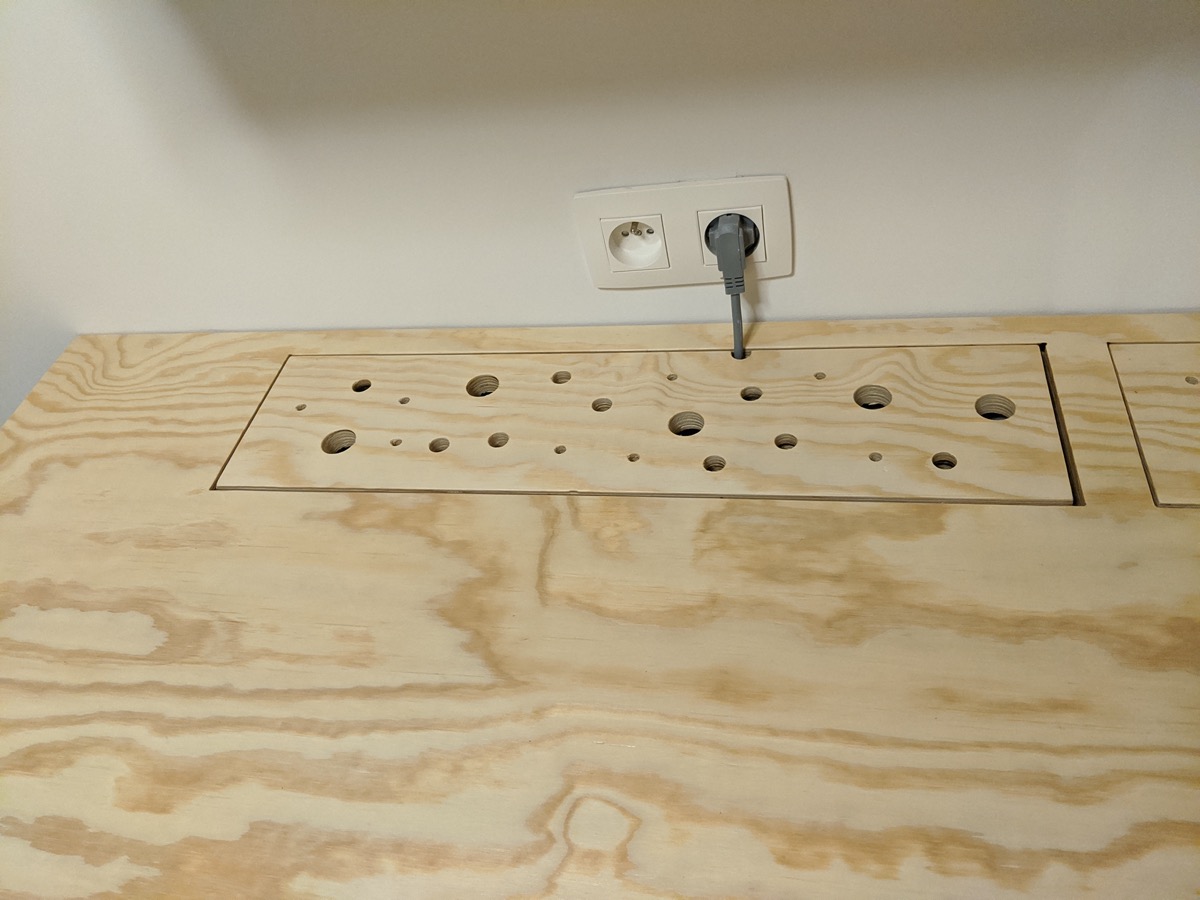
Routed out a section to pass the power cord through. Added some different-sized holes for ventilation. Kinda looks like a Swiss cheese now.
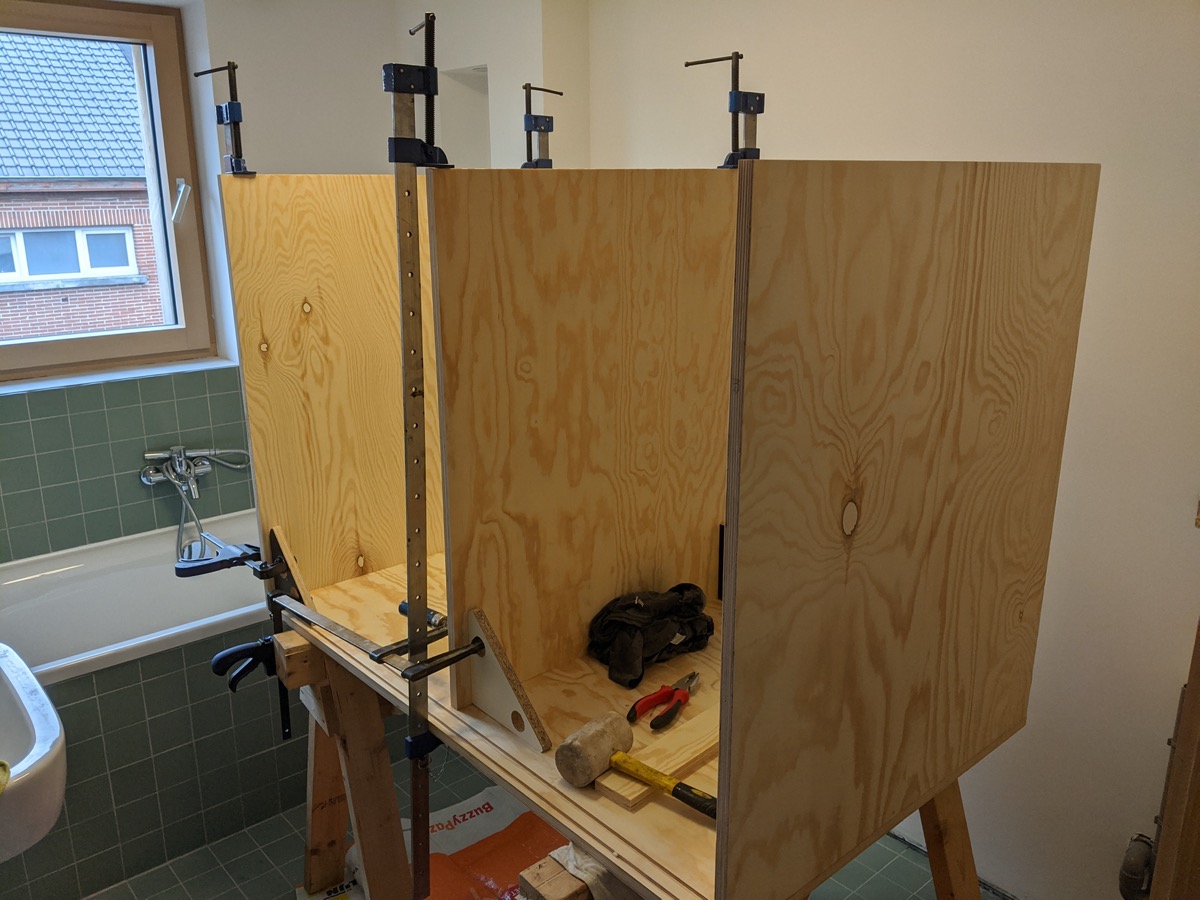
Glue-up had to be done on site as the finished cupboard would not fit through the door. And bringing it up the stairs would've been a bloody nightmare. Thanks to my lovely wife for pointing this out to me.
Lessons learned permalink
- Cutting a full sheet of plywood to precise dimensions is surprisingly hard work, even on the massive sliding table saw we use in the class shop
- Only cut the doors to final size once the carcass is finished (you are not that accurate, see also previous point)
- Use a really sharp blade to cut plywood (to avoid tear-out, trembling and tears)